Photography
Beginner Camera Settings That Transform Your First Wildlife Frames
Encounters Africa - 11 min read
Updated on 10 August 2026
Beginner camera settings can transform your first wildlife frames when you step into the African bush for the initial time. With the right adjustments to shutter speed, aperture and focus, even newcomers can secure sharp, evocative images of lions on the prowl or elephants moving through golden grass. This guide distills the essential controls that matter most on safari, helping you move beyond guesswork and capture authentic moments without needing an arsenal of specialist equipment.
The best time to visit for photography in Southern and East Africa is typically during the dry season months from June to October, when animals gather at water sources and vegetation thins to reveal clearer sightlines. Expect early starts before dawn and late afternoon drives when the light softens and wildlife becomes most active. Encounters Africa has guided thousands of travellers through these techniques, ensuring their first safari photographs reflect both technical confidence and genuine connection with the landscape.
Why Camera Settings Matter More Than Expensive Gear on Your First Safari
Many first-time wildlife photographers arrive in Kenya or South Africa convinced they need the latest mirrorless body or heavyweight telephoto lens. In reality, understanding a handful of core settings delivers far greater returns. A modest DSLR or mirrorless camera paired with a 100-400mm zoom can produce gallery-worthy results when the operator knows how to expose correctly and track movement.
The African light changes dramatically between the soft glow of dawn and the harsh midday sun. Learning to read these shifts and adjust your camera accordingly prevents the common frustrations of blurred subjects or muddy colours. Rather than chasing gear upgrades, focus on mastering exposure triangle fundamentals and modern autofocus systems that do much of the heavy lifting for you.
Mastering a few foundational camera controls on your very first game drive often separates hesitant snapshots from images that genuinely convey the pulse of wild Africa.
Understanding Your Camera Modes Before Departure
Before leaving home, spend an afternoon in manual mode photographing birds in a local park or dogs at play. Switch between aperture priority, shutter priority and full manual to feel how each influences the final frame. This gentle practice removes the intimidation factor when a leopard suddenly appears on your first morning drive in the Masai Mara.
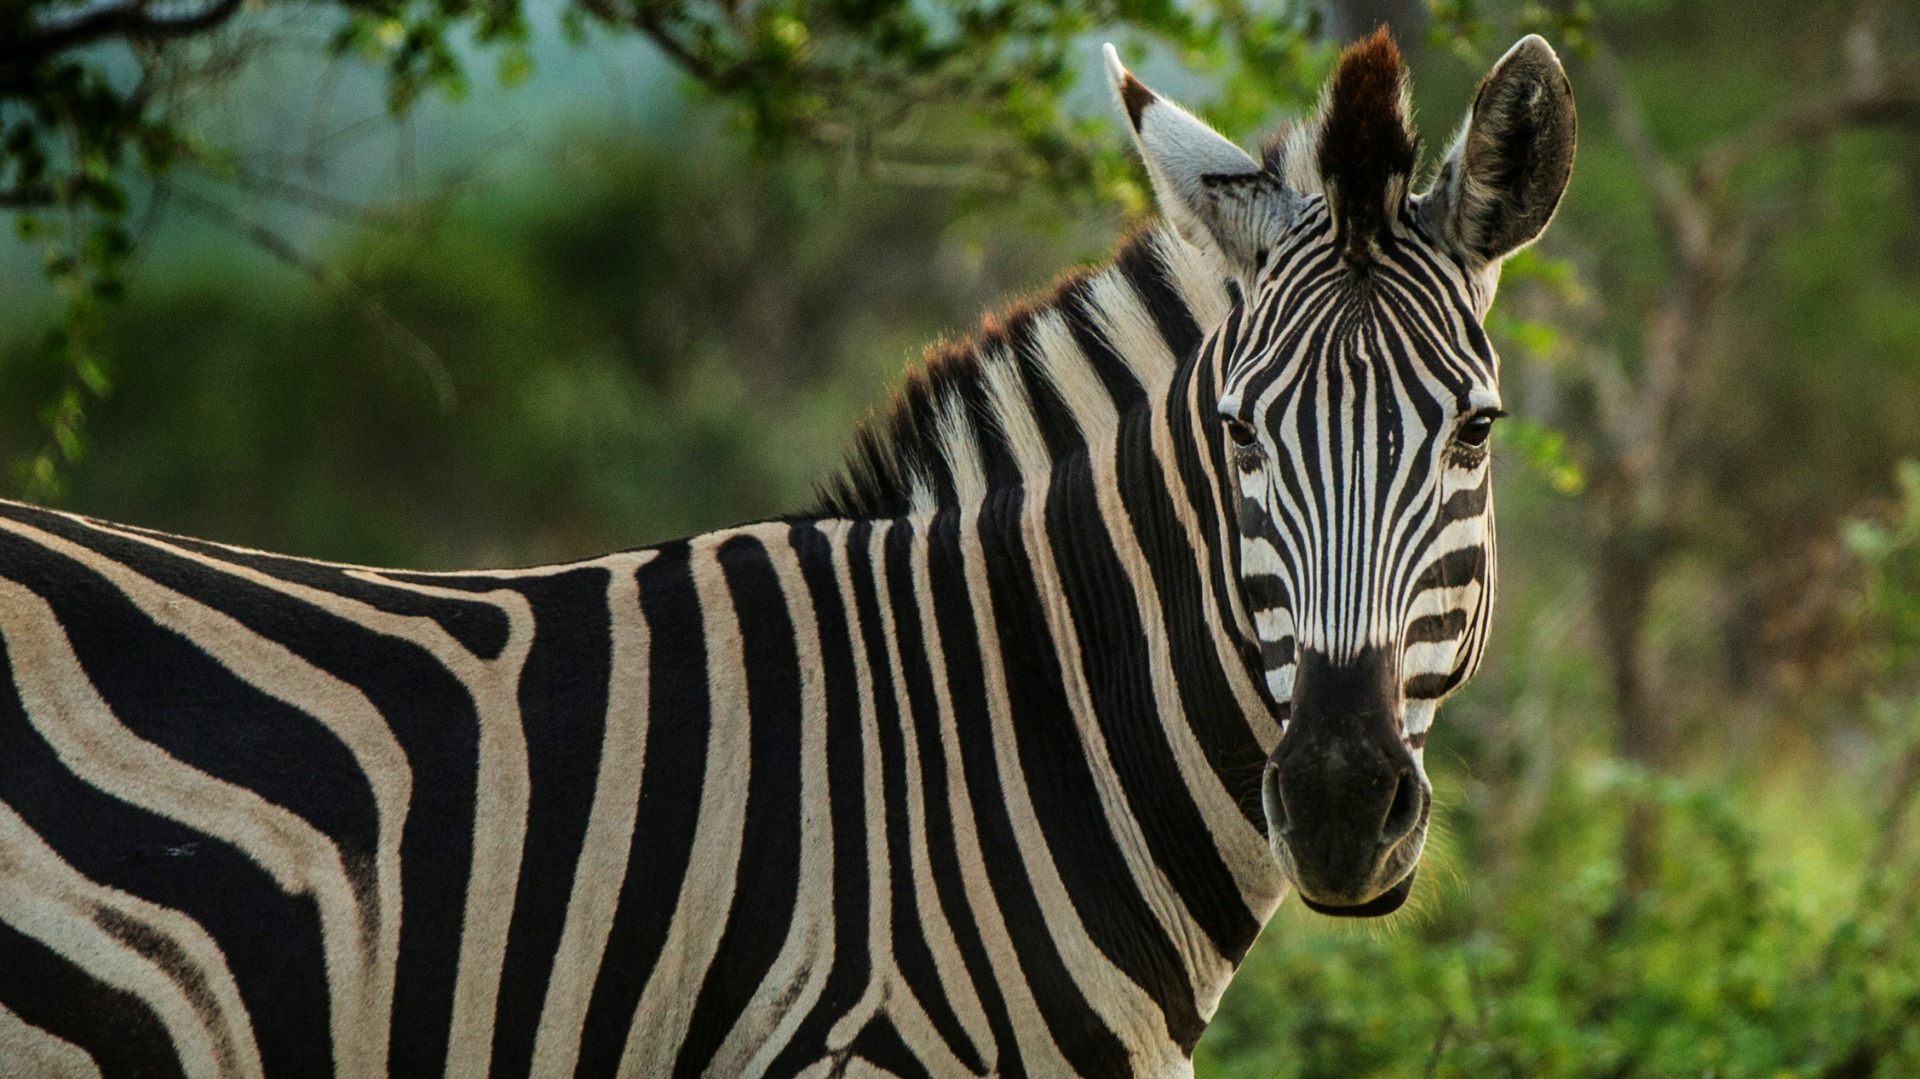
Most modern cameras offer excellent semi-automatic modes that allow beginners to concentrate on composition while the camera handles technical variables. Aperture priority (A or Av) lets you control depth of field while the camera selects an appropriate shutter speed. This proves particularly useful when isolating a lone acacia tree against a herd of zebra.

Essential Shutter Speed Settings for Moving Wildlife
Shutter speed represents the single most important setting when photographing nature and wildlife in motion. For stationary subjects like a resting pride of lions, 1/250th of a second often suffices. When animals begin to move, increase to 1/1000th or faster to freeze the action without motion blur.
Birds in flight demand even higher speeds, typically between 1/2000th and 1/3200th of a second depending on wing speed and light conditions. During a Masai Mara migration safari, wildebeest crossing the Mara River require shutter speeds above 1/1600th to capture the chaos of splashing water and churning bodies without losing detail.
Many beginners benefit from starting in shutter priority mode, setting a minimum speed of 1/1000th and allowing the camera to adjust aperture and ISO accordingly. This approach prevents the disappointment of returning with beautifully composed but completely blurred images of running impala.
Freezing Action Versus Conveying Motion
Not every wildlife photograph needs to be pin-sharp. Deliberately slower shutter speeds around 1/30th of a second can create beautiful motion blur that communicates the power and speed of a galloping zebra. This technique works especially well during late afternoon drives when the lower light naturally encourages slower exposures.
Experiment with panning, where you track the animal's movement with your camera while using a slower shutter speed. The subject remains relatively sharp while the background streaks into horizontal lines of colour. Practice this technique on vehicles or cyclists before your safari to develop the necessary smooth tracking motion.
A crisp eye in an otherwise blurred frame often tells a more compelling story than perfect sharpness throughout the entire image.
Choosing the Right Aperture for Wildlife Portraits
Aperture controls both the amount of light entering your lens and the depth of field in your photograph. For wildlife portraits that separate the subject from a busy background, wide apertures between f/4 and f/5.6 create the pleasing bokeh that makes the animal pop. This proves particularly effective when photographing a cheetah against the blurred grasslands of the Serengeti.
Smaller apertures around f/8 to f/11 become necessary when photographing groups of animals or when you want both the foreground subject and distant landscape in focus. A herd of elephants with Okavango Delta floodplains stretching behind them benefits from this greater depth of field.
Remember that wider apertures require faster shutter speeds or higher ISO values to maintain proper exposure. Finding the sweet spot between subject isolation and sufficient light often requires quick mental calculations during the fleeting seconds when an animal presents itself.
Working with Variable Light Conditions
African landscapes offer some of the world's most dramatic lighting, but this comes with challenges for beginners. Early morning and late afternoon provide the most flattering illumination with long shadows that add depth and texture. During these golden hours, you can often shoot at lower ISO values and wider apertures.
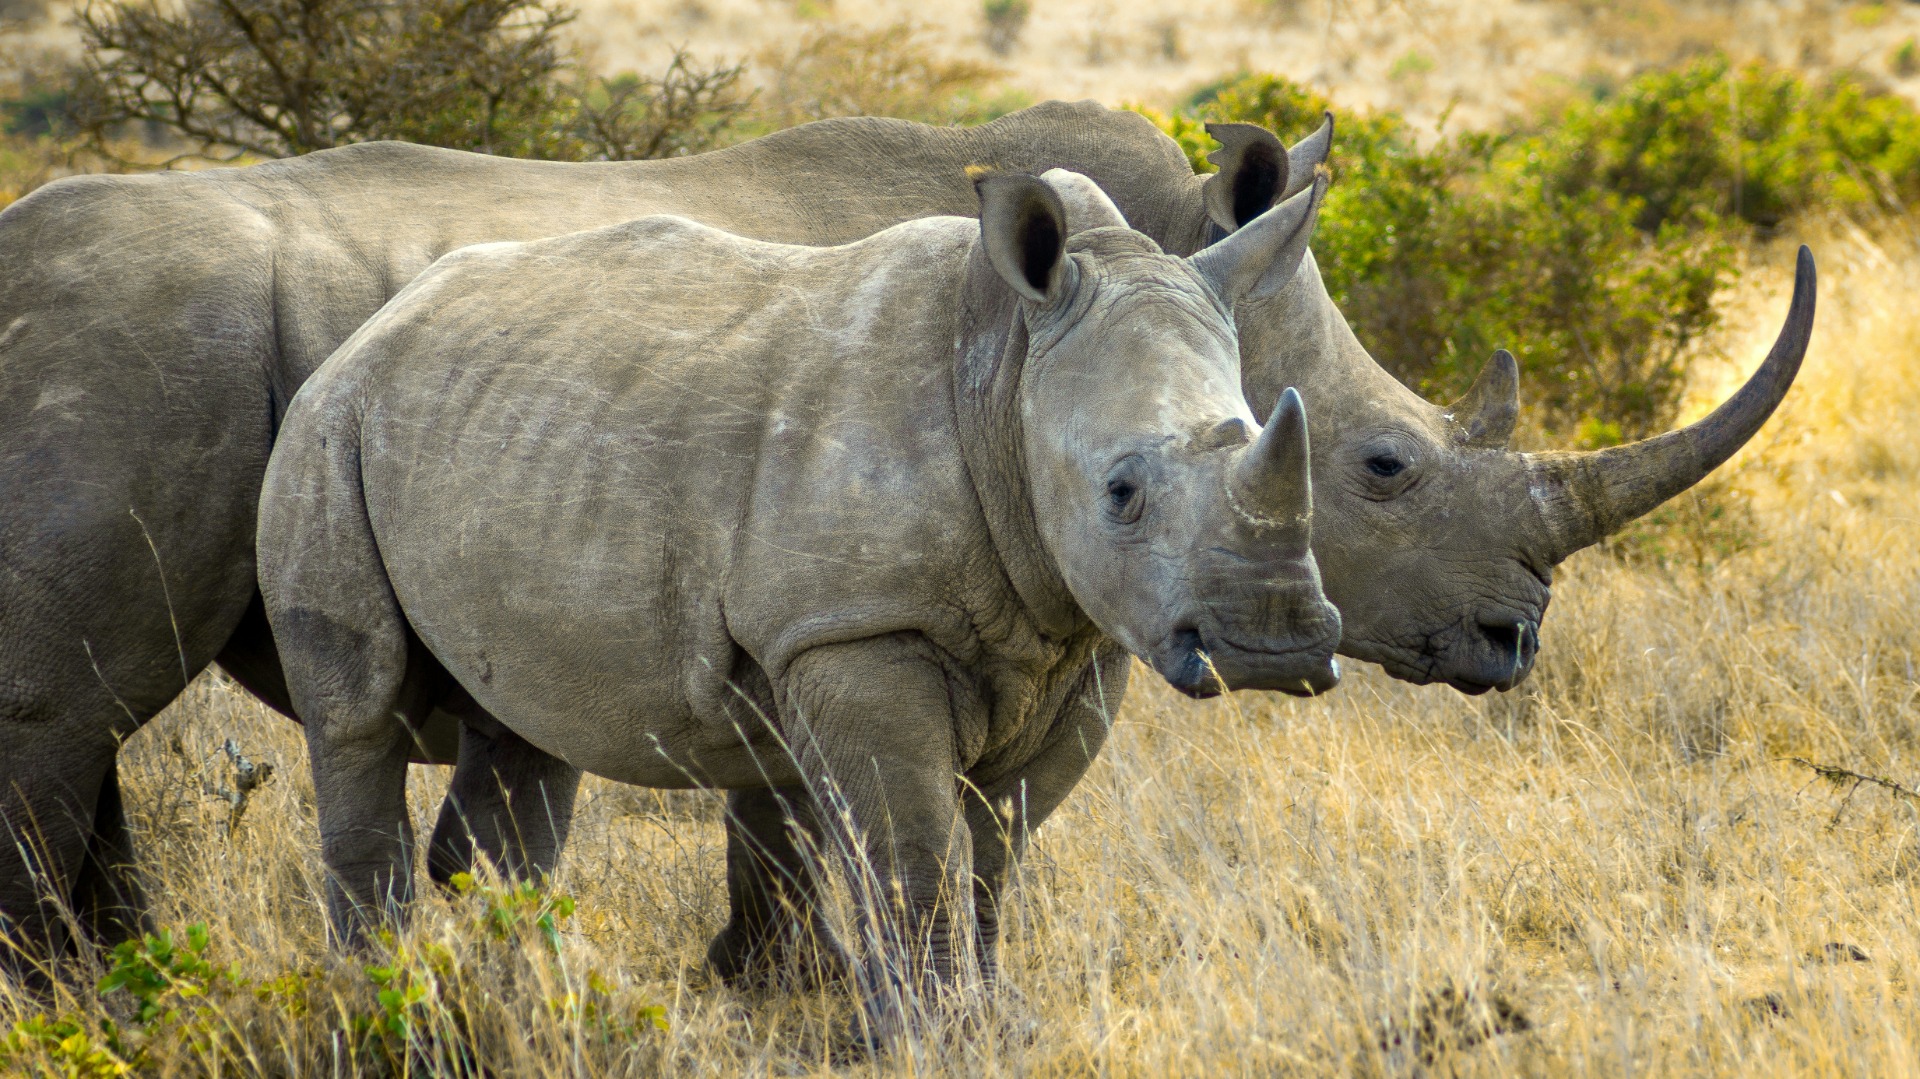
Midday light in equatorial regions like Kenya creates harsh contrasts that can fool camera meters. Use exposure compensation of -0.3 to -1 stop to prevent blown highlights on pale animals such as white rhinos or pale-coloured birds. Alternatively, switch to spot metering and take your reading from the animal's mid-tones rather than the entire scene.
Mastering Autofocus Modes for Unpredictable Subjects
Modern autofocus systems have transformed wildlife photography for beginners. Continuous autofocus (AF-C or AI Servo) should become your default setting on safari as animals rarely remain motionless. This mode continuously adjusts focus as long as you half-press the shutter button.
Combine continuous autofocus with dynamic area mode or zone focusing, which uses multiple focus points to track subjects that move erratically. When a troop of monkeys swings through the trees in South Africa's private reserves, this setting helps maintain sharp focus despite their unpredictable direction changes.
For more deliberate portraits, single-point autofocus allows precise placement of the focus point directly on the animal's eye. Many cameras now offer eye-detection autofocus that automatically finds and locks onto an animal's eye, dramatically increasing your keeper rate even with limited photography experience.
Back Button Focusing Technique
Consider reassigning autofocus to a button on the back of your camera rather than the shutter release. This technique, known as back button focusing, separates focusing from image capture and gives you greater control in complex wildlife situations.
Once mastered, back button focusing allows you to lock focus on a stationary subject, recompose, and wait for the perfect moment without the camera refocusing every time you press the shutter. Professional guides at lodges like Duba Plains Camp often recommend this approach to their photography guests.
ISO Settings and Noise Management in Low Light
ISO determines your camera's sensitivity to light. Modern sensors handle remarkably high ISO values with minimal noise, making 1600 or even 3200 perfectly acceptable when photographing at dawn or dusk. The priority should always be achieving the correct shutter speed rather than keeping ISO artificially low.
Many travellers now use auto ISO with a maximum limit set to 6400. This allows the camera to adjust sensitivity as light changes while preventing excessive noise from extremely high values. Review your camera's performance at different ISO settings before departure to understand its particular noise characteristics.
When shooting in very low light, such as tracking nocturnal animals on a night drive, consider using a bean bag or monopod to stabilise the camera. This support allows slower shutter speeds without introducing camera shake, potentially keeping ISO values lower and image quality higher.
Practical Field Techniques That Complement Camera Settings
Beyond technical controls, certain habits dramatically improve your photographic success rate. Always position yourself so the sun is behind you or to the side rather than directly in front when possible. This lighting creates better definition on animal coats and prevents harsh shadows across faces.
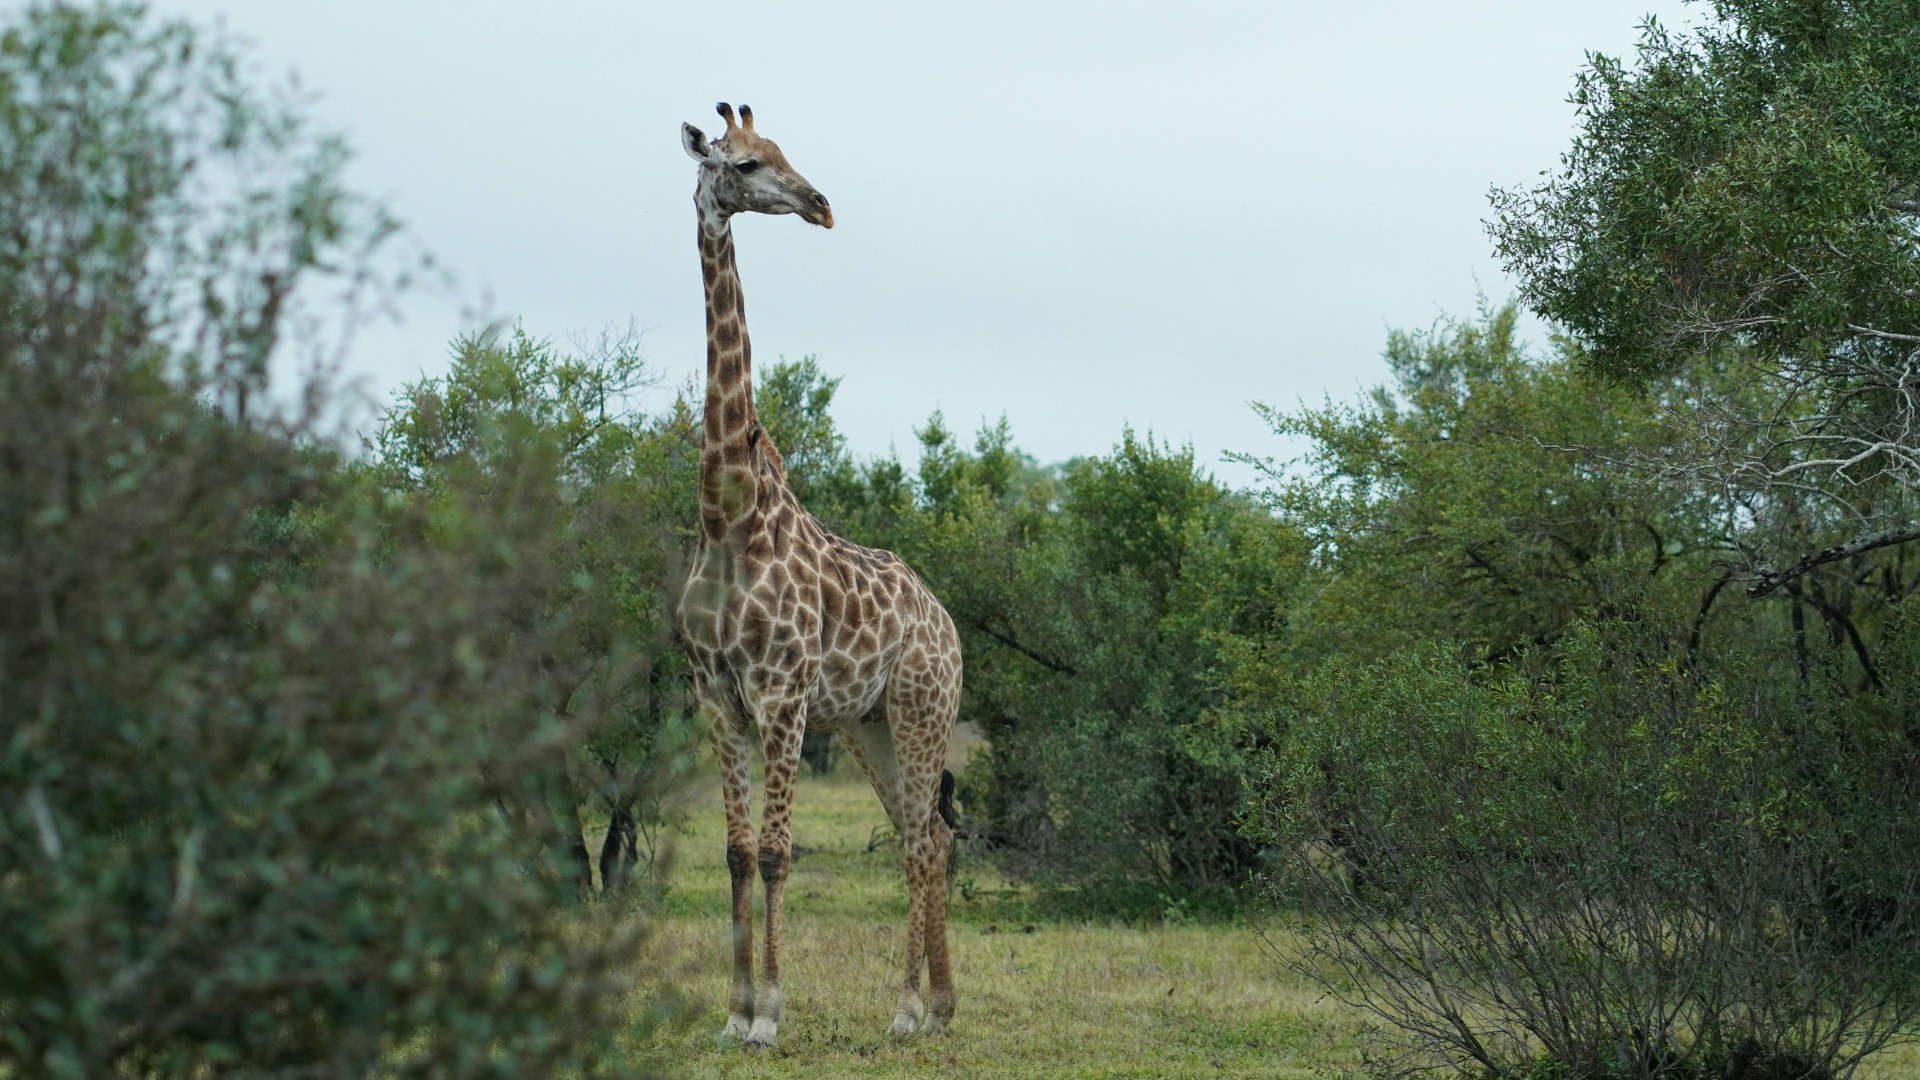
Take time to observe animal behaviour before raising your camera. A giraffe that appears to be simply standing may soon begin running or stretching in a more photogenic pose. Patient observation often rewards the prepared photographer with more dynamic opportunities.
Consider joining a specialised photography safari that includes dedicated time for shooting and guidance from experienced professionals. These journeys allow deeper exploration of techniques while still experiencing the full thrill of African wildlife encounters.
The most memorable wildlife images rarely come from perfect technical execution alone. They capture something of the animal's character and its relationship with the surrounding environment.
Common Beginner Mistakes and How to Avoid Them
One frequent error involves shooting too wide, resulting in small animals lost against vast landscapes. Force yourself to fill the frame with your subject, getting as close as regulations and animal comfort levels permit. A tight composition on a lion's face reveals texture and expression that wider shots cannot convey.
Another common pitfall is neglecting to check your histogram after the first few frames. The bright African light can easily fool camera meters, leading to over or underexposed images. Learn to read the histogram graph and adjust exposure compensation accordingly throughout the day.
Many beginners also forget to clean their lenses regularly. Dust from game drive tracks and fine particles in the air can quickly degrade image quality. Carry a lens cloth and blower brush, and develop the habit of checking your front element before important sightings.
Building Confidence Through Preparation
Before your journey, create a simple cheat sheet with your preferred starting settings for different scenarios: dawn wildlife, midday portraits, birds in flight, and low light conditions. Having these references on your phone or a small laminated card removes much of the guesswork when excitement makes clear thinking difficult.
Practice changing settings without looking at your camera so you can keep your eyes on the animal rather than the controls. Muscle memory for adjusting shutter speed or switching focus modes proves invaluable when a rare sighting appears for only a few seconds.

Conservation Considerations for Responsible Wildlife Photography
Responsible photography extends beyond technical excellence to include ethical practices that protect the very subjects we seek to capture. Always follow your guide's instructions regarding vehicle positioning and never encourage off-road driving that might disturb sensitive habitats or nesting birds.
Respect the distance guidelines established by national parks and private concessions. Approaching too closely stresses animals and can alter their natural behaviour, potentially affecting their survival. The most powerful images often come from respectful distances that allow subjects to remain relaxed and authentic.
Consider how your images might contribute to conservation efforts. Many lodges and operators support local initiatives, and your photographs can help raise awareness about the challenges facing African ecosystems when shared thoughtfully on social media or through print.
Transforming Your Safari Photography Journey
Mastering these beginner camera settings creates a foundation for a lifetime of rewarding wildlife photography. The technical aspects become second nature with practice, allowing you to focus on the more profound elements of connecting with Africa's remarkable wildlife and landscapes.
Whether you are framing your first elephant at a waterhole in Botswana or capturing the intricate patterns of a leopard's coat in the South African bush, these fundamental controls will serve you well. The true reward lies not just in the images you create but in the heightened awareness and appreciation that comes from truly seeing the natural world through a photographer's eye.
For discerning travellers seeking a private safari beyond our set itineraries, we invite you to contact us directly. We specialise in designing exceptional, tailor-made journeys for individuals, couples, families, and private groups of up to eight guests. Drawing on our handpicked network of distinguished camps and lodges, we curate every detail with precision and care, creating a seamless, deeply personal safari experience shaped entirely around your preferences, pace, and budget.
Ready to put these techniques into practice on your own African adventure? Visit our enquiry form to begin planning a photography-focused safari that matches your vision and skill level. Our team at Encounters Africa looks forward to helping you create images that capture not just the wildlife but the very spirit of the African wilderness.
More like this
Photography
Beginner Photographers Can Master African Wildlife Shots with These Core Camera Adjustments
Photography
Camera Settings That Capture Kenya’s Shifting Light on Safari Drives
Photography
Capture Zambia’s Dramatic Light: Prime Spots for Wildlife Photography
Photography
Chasing the Light: A Photographer's Personal Encounters in Kenya
photography
Choosing Bean Bags Over Gimbals for Photographic Safaris in Africa
photography