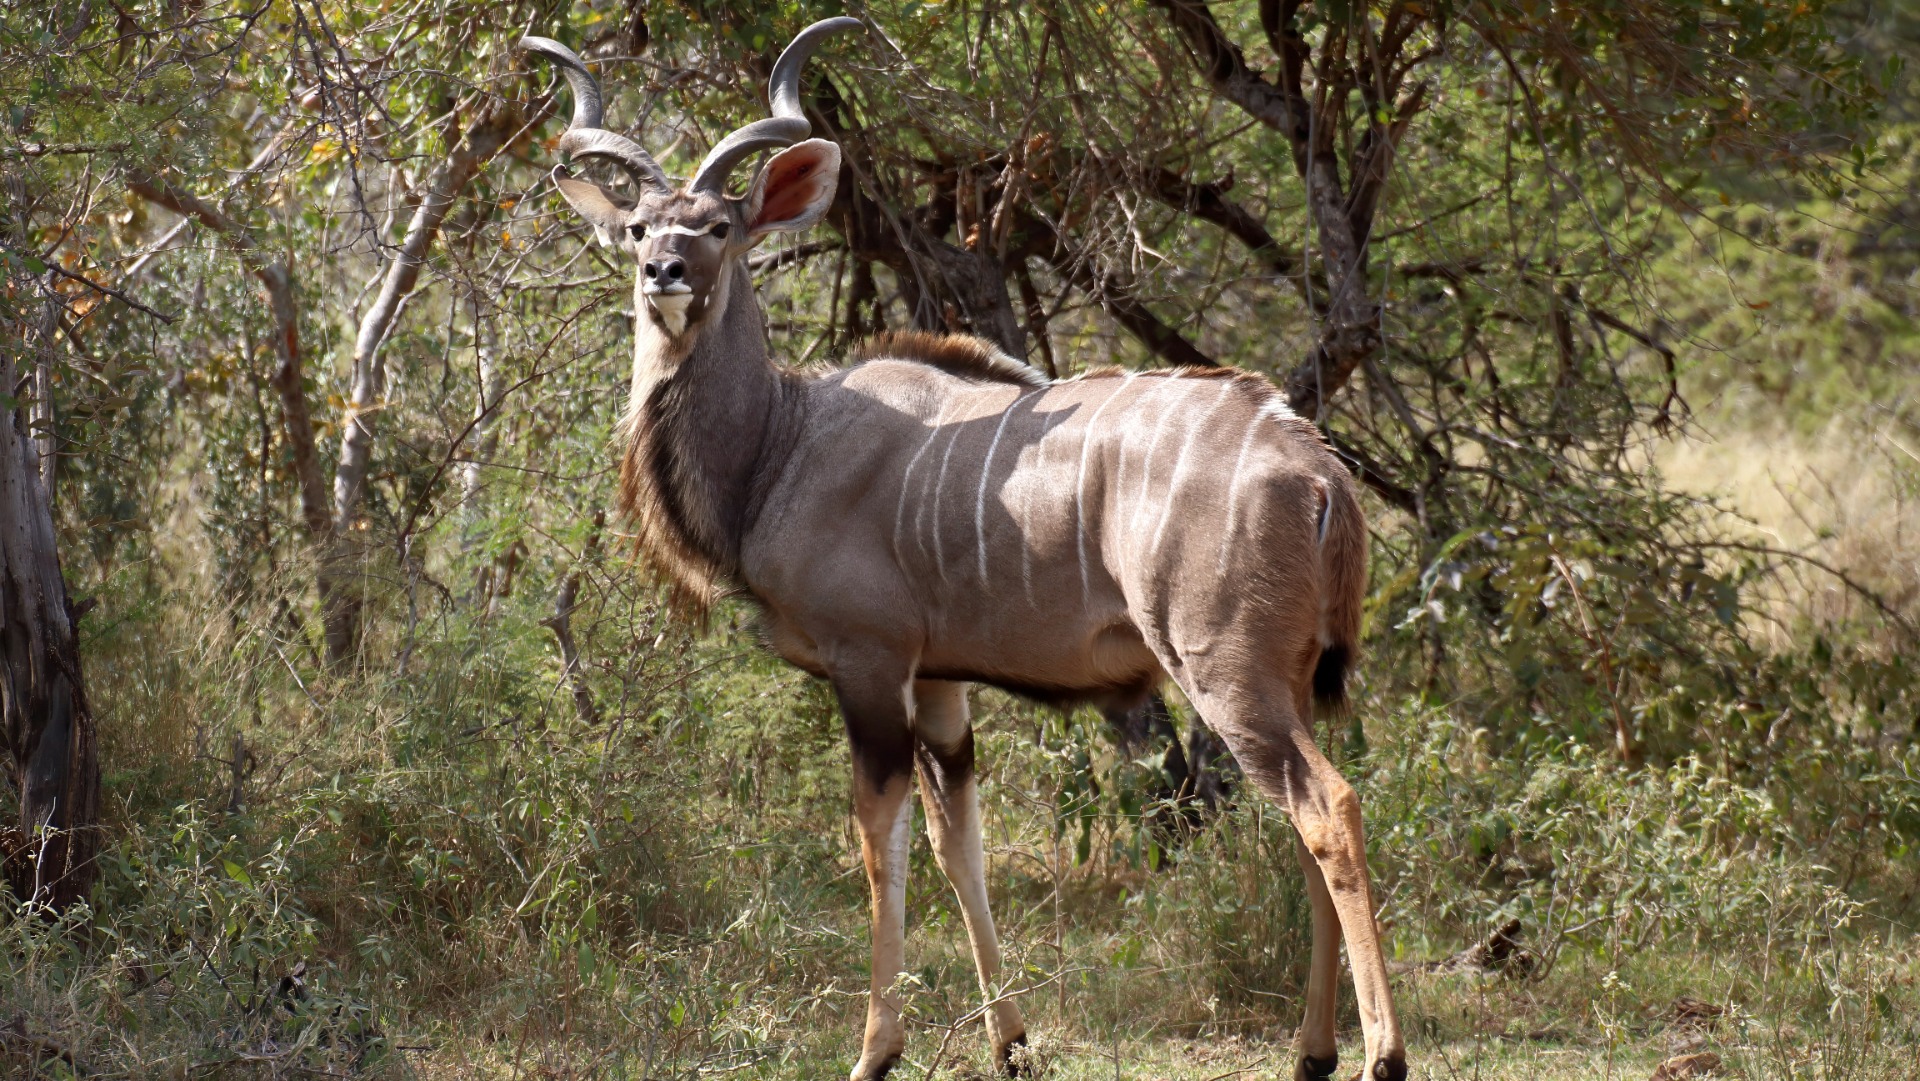
Photography
Beginner Photographers Can Master African Wildlife Shots with These Core Camera Adjustments
Encounters Africa - 9 min read
Updated on 10 August 2026
Beginner photographers can master African wildlife shots with these core camera adjustments. The vast savannas and dense thickets of Africa present rapidly shifting conditions where light, movement and behaviour converge in moments that vanish within seconds. Understanding a handful of fundamental settings transforms hesitant point-and-shoot attempts into images that convey the texture of an elephant’s skin, the intensity of a lion’s gaze or the synchronised leap of impala.
On a typical safari drive in places such as the Masai Mara or Kruger National Park, the difference between a blurred streak and a crisp portrait often comes down to three variables: how the camera reads available light, how quickly the shutter responds to motion, and how the frame is composed around natural behaviour. These adjustments require no exotic gear, only deliberate practice and a willingness to observe before pressing the shutter.

The African landscape rarely offers second chances; the light that bathes a herd at dawn will be gone by the time the vehicle circles back.
Why Core Camera Adjustments Matter for Beginners on Safari
Most newcomers arrive armed with enthusiasm and a capable mirrorless or DSLR body yet feel overwhelmed by the pace of wildlife encounters. A cheetah begins her sprint while the sun slips behind a cloud; a troop of baboons cascades through dappled shade; a solitary leopard melts into thicket the instant the vehicle stops. Without reliable settings, these scenes become frustrating exercises in guesswork.
Learning to read changing light, select appropriate shutter speeds and compose with intention allows even first-time photographers to produce images they are proud to share. The goal is not technical perfection but authentic storytelling that respects the animal’s space and natural rhythm. Encounters Africa has guided thousands of travellers through these exact principles, turning ordinary safari snaps into evocative keepsakes that capture both drama and subtlety.
Understanding Light in African Landscapes
Africa’s equatorial sun creates high contrast and fast transitions. Early morning and late afternoon deliver the soft, warm illumination photographers crave, yet midday can produce harsh shadows that flatten detail. Successful beginners learn to expose for the subject rather than the entire scene.
Use evaluative metering as a starting point, then apply exposure compensation of minus one-third to two-thirds of a stop when the animal appears against a bright sky or pale grass. In the golden hour between 06:00 and 08:00 or 16:30 and 18:30, the warm side-lighting reveals texture in fur and feather. Watch how the colour temperature shifts from cool blue at dawn to rich amber before sunset; these changes affect white balance and mood.
Mastering Shutter Speed for Moving African Wildlife
Shutter speed is the single most important control when photographing animals that rarely remain motionless. A relaxed giraffe drinking at a waterhole may tolerate 1/250th of a second, but a sprinting wildebeest or diving kingfisher demands far faster speeds.
As a rule of thumb, select at least 1/1000th of a second for mammals on the move and 1/2000th or higher for birds in flight. In lower light, raise the ISO rather than drop the shutter speed; modern sensors handle 3200 ISO with minimal noise, preserving detail that would otherwise be lost to blur. Continuous autofocus paired with burst mode increases the probability of capturing the decisive moment when an animal turns its head or launches into action.
A fraction of a second separates an ordinary record shot from an image that pulses with life and tension.
Choosing the Right Aperture and Depth of Field
A wide aperture such as f/4 or f/5.6 isolates the subject against a pleasingly soft background, drawing attention to the catchlight in an eye or the curve of a horn. Yet in dense woodland or when photographing groups of animals at varying distances, a narrower aperture of f/8 or f/11 ensures more of the scene remains sharp.
On Tanzania safaris where vast herds stretch across the plains, stopping down slightly prevents the animals in the middle distance from dissolving into blur. Test your lens at different apertures during quieter moments so you understand its sweet spot before the action begins.
Composition Techniques That Highlight Natural Behaviour
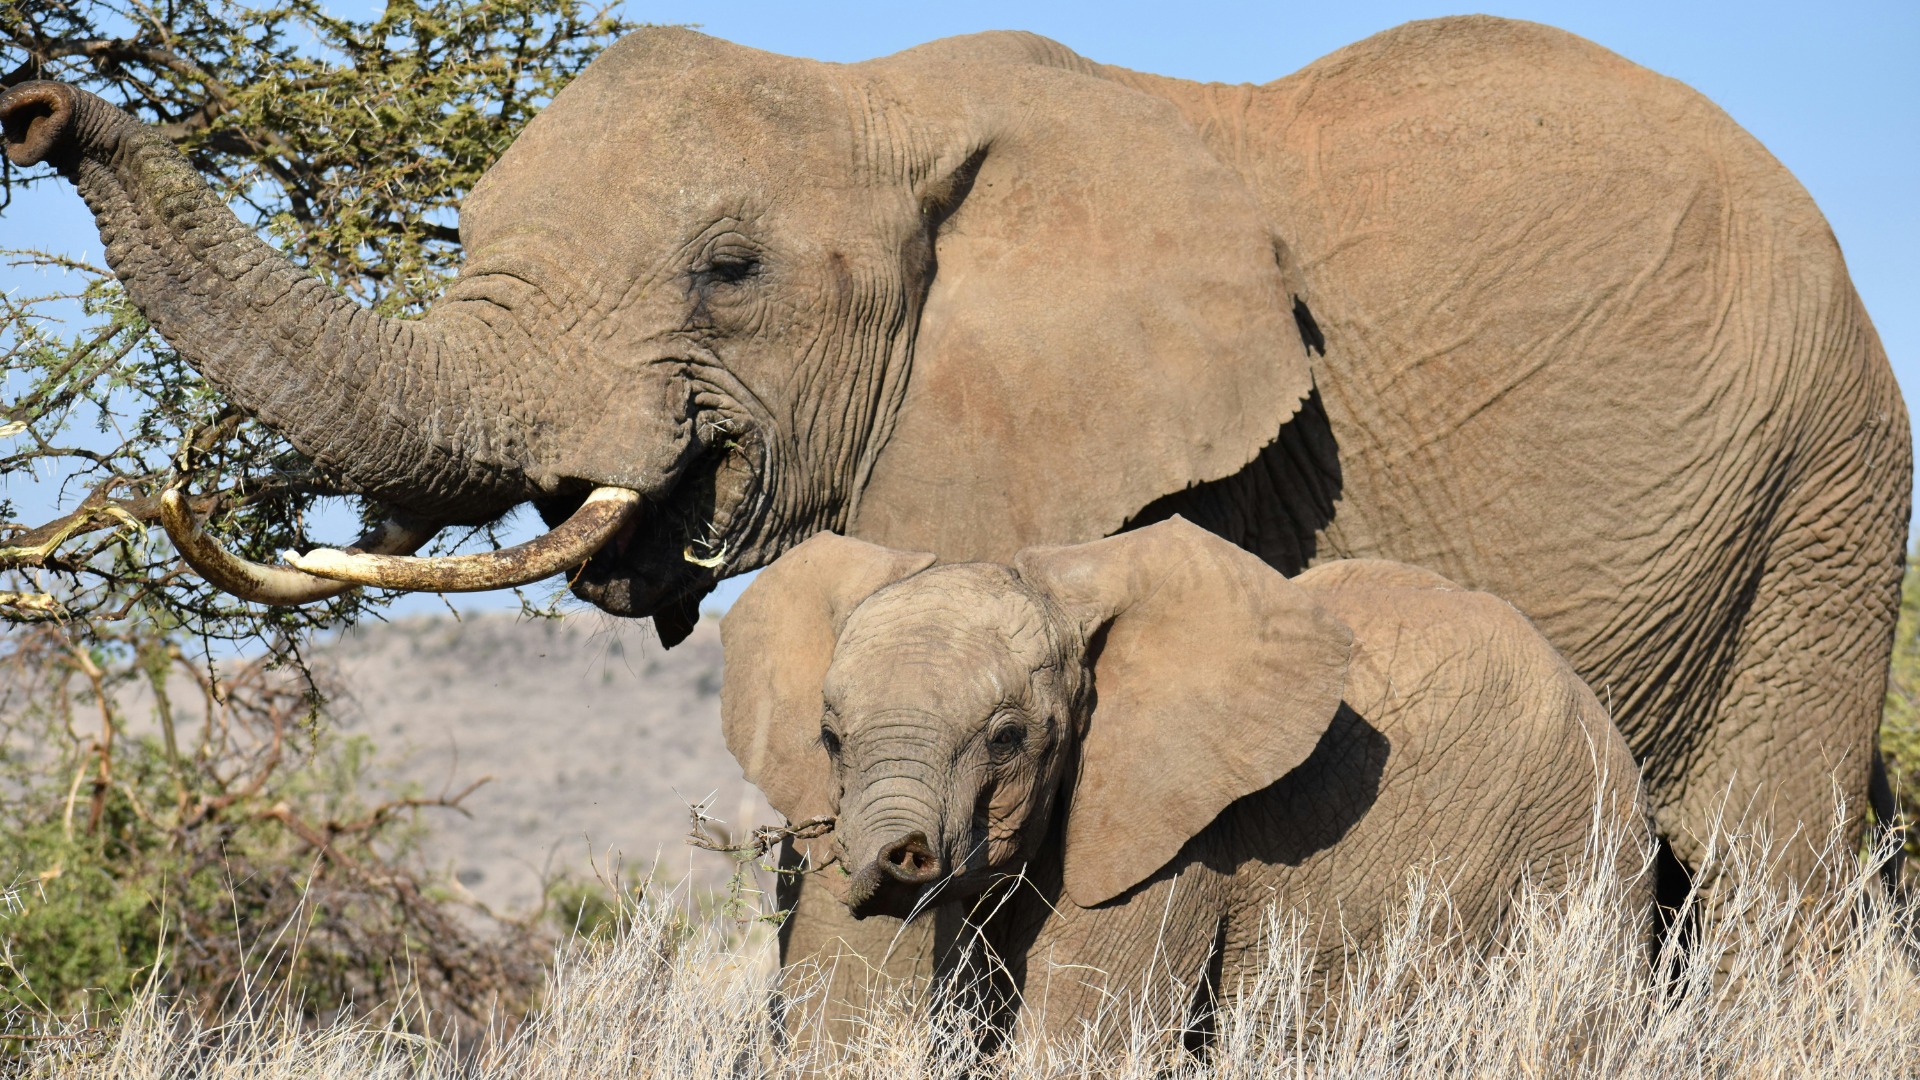
Technical settings alone do not create compelling photographs; thoughtful framing does. Look for moments that reveal character: a young elephant sheltering beneath its mother’s ear, a pair of lions grooming at dusk, or a secretary bird stamping on invisible prey. These behaviours tell richer stories than simple portraits.
Apply the rule of thirds by placing the animal’s eye on an intersecting line rather than dead centre. Leave space in the direction the subject is looking or moving; this creates visual momentum and prevents the image from feeling cramped. Negative space can be equally powerful, especially when photographing a solitary figure against an immense sky or empty plain.
Working with Your Guide and Vehicle Position
Experienced guides understand both animal behaviour and photographic needs. Communicate clearly about the type of image you hope to capture so they can position the vehicle accordingly. A low angle often yields more intimate results, while a higher vantage point can reveal patterns across a herd.
Remain seated and avoid sudden movements that might disturb the wildlife. Many private concessions in South Africa allow off-road driving, granting access to angles unavailable in public reserves. Request a window seat on the side facing the sun’s direction to minimise glare on your lens.
Essential Camera Settings Summary for African Wildlife Photography
The following checklist distils years of field experience into practical guidance that beginners can apply immediately:
Shutter Priority or Manual mode – start with shutter priority for moving subjects, switching to manual once comfortable balancing ISO and aperture.
Minimum shutter speed – 1/1000s for large mammals, 1/2000s+ for birds and fast action.
Aperture – f/4 to f/5.6 for portraits, f/8 to f/11 for groups or landscapes.
ISO – Auto ISO with a ceiling of 6400; review results regularly to understand your camera’s noise tolerance.
Autofocus – Continuous AF with dynamic or zone area to track unpredictable movement.
White balance – Daylight or Auto; fine-tune in post if shooting RAW.
Drive mode – Continuous high speed to capture sequences of behaviour.
File format – RAW for maximum flexibility in exposure and colour correction later.
These settings form a reliable baseline that can be tweaked according to specific conditions. The best time to visit for photography is generally the dry season from June to October, when animals concentrate around water sources and vegetation is thinner, improving visibility and light penetration.
Photography on safari is less about collecting images than about learning to see more deeply.
Common Mistakes Beginners Make and How to Avoid Them
Over-reliance on automatic modes frequently results in blurred subjects or overly bright skies. Switching to shutter priority or manual within the first hour of the first drive prevents this frustration. Another frequent error is filling the frame too tightly; generous cropping in post-production is possible with high-resolution files, but context often strengthens the narrative.
Many novices also neglect to check their histogram, missing clipped highlights or blocked shadows until it is too late. Enable the highlight warning on your camera’s playback screen so you can adjust exposure compensation on the spot. Finally, resist the urge to review every image immediately; doing so distracts from the live scene unfolding around you.
Field-Tested Adjustments for Different Times of Day
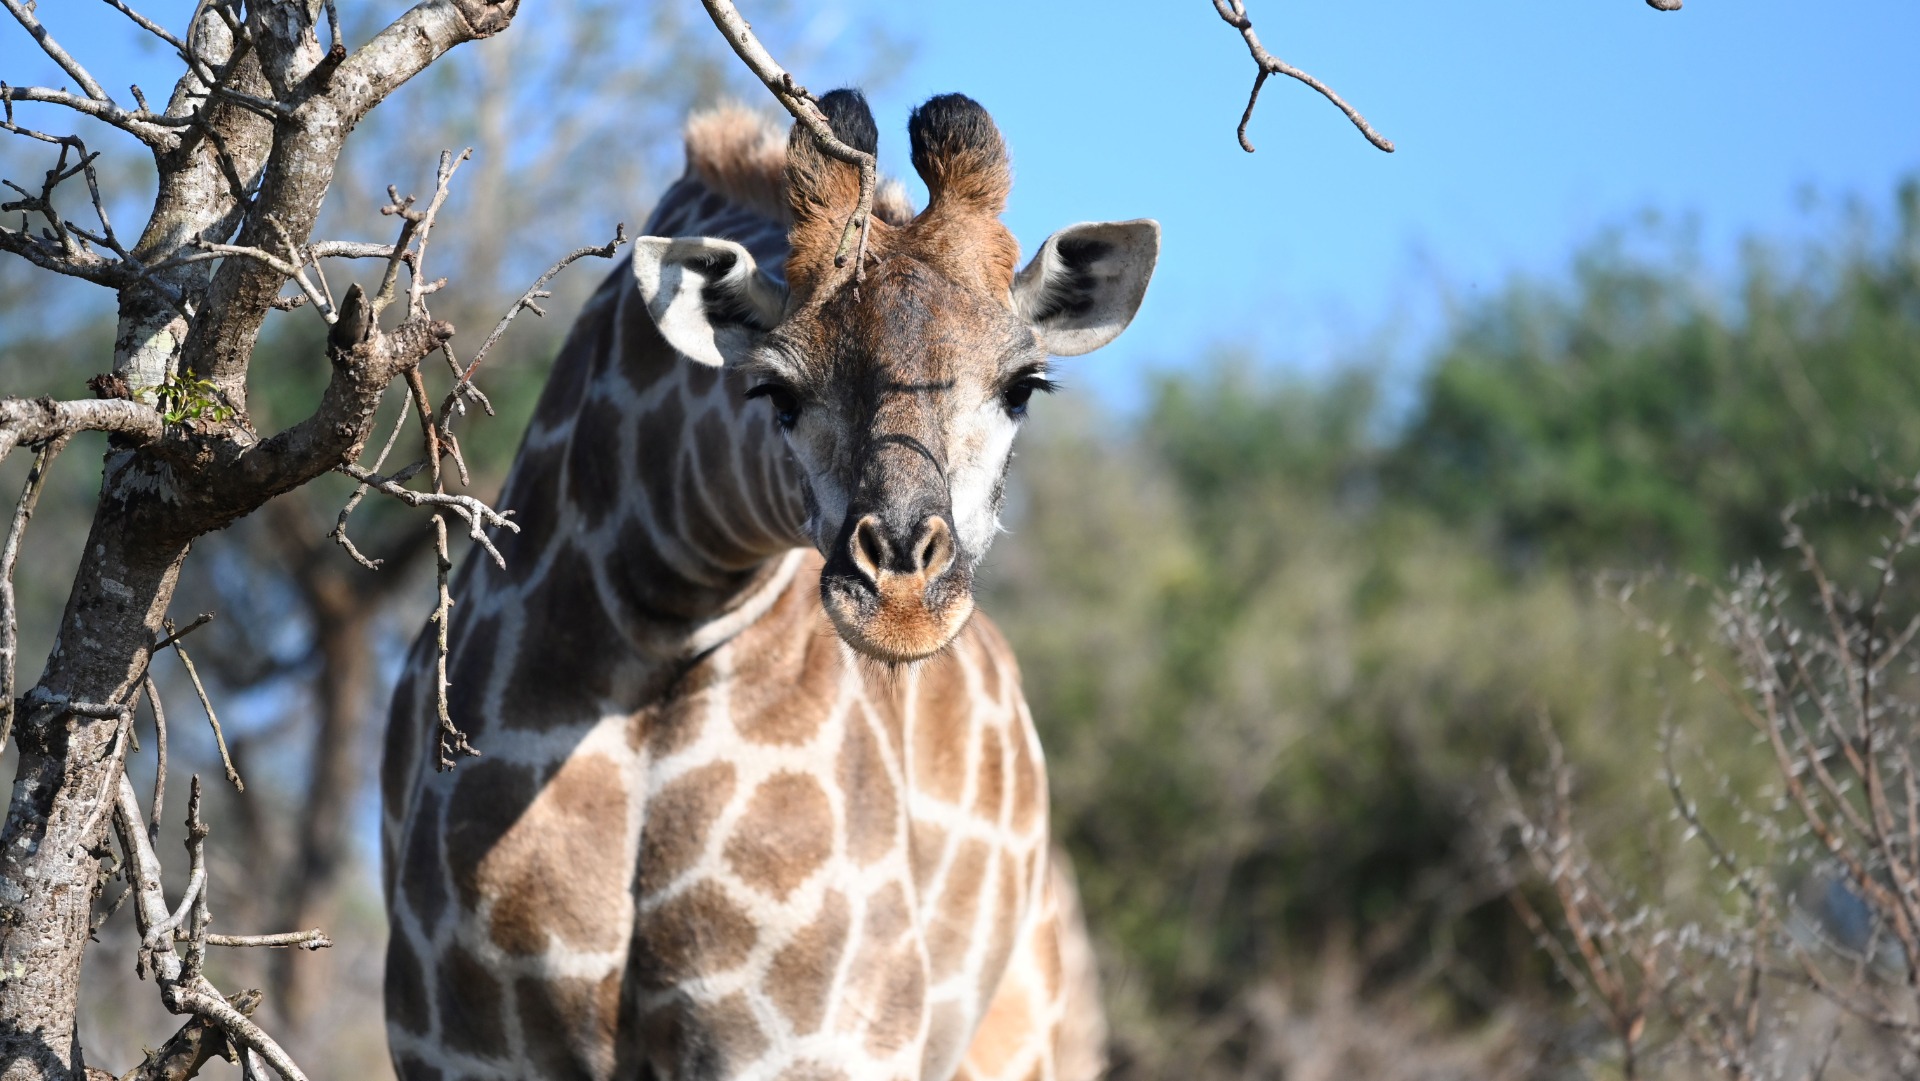
At dawn, when light levels are low, increase ISO and use a bean bag or monopod for stability. During the harsh midday hours, seek shade or focus on intimate details such as patterns in giraffe markings or the texture of tree bark. Late afternoon offers the most forgiving light; lower the ISO, open the aperture and enjoy the warm tones that bring scenes to life.
In forested areas like the Rwanda highlands or dense sections of the Kenya coast, spot metering on the animal’s face helps prevent the camera from underexposing against dark foliage. Carry a polarising filter to cut glare from water surfaces when photographing hippos or crocodiles.

Building Confidence Through Observation and Practice
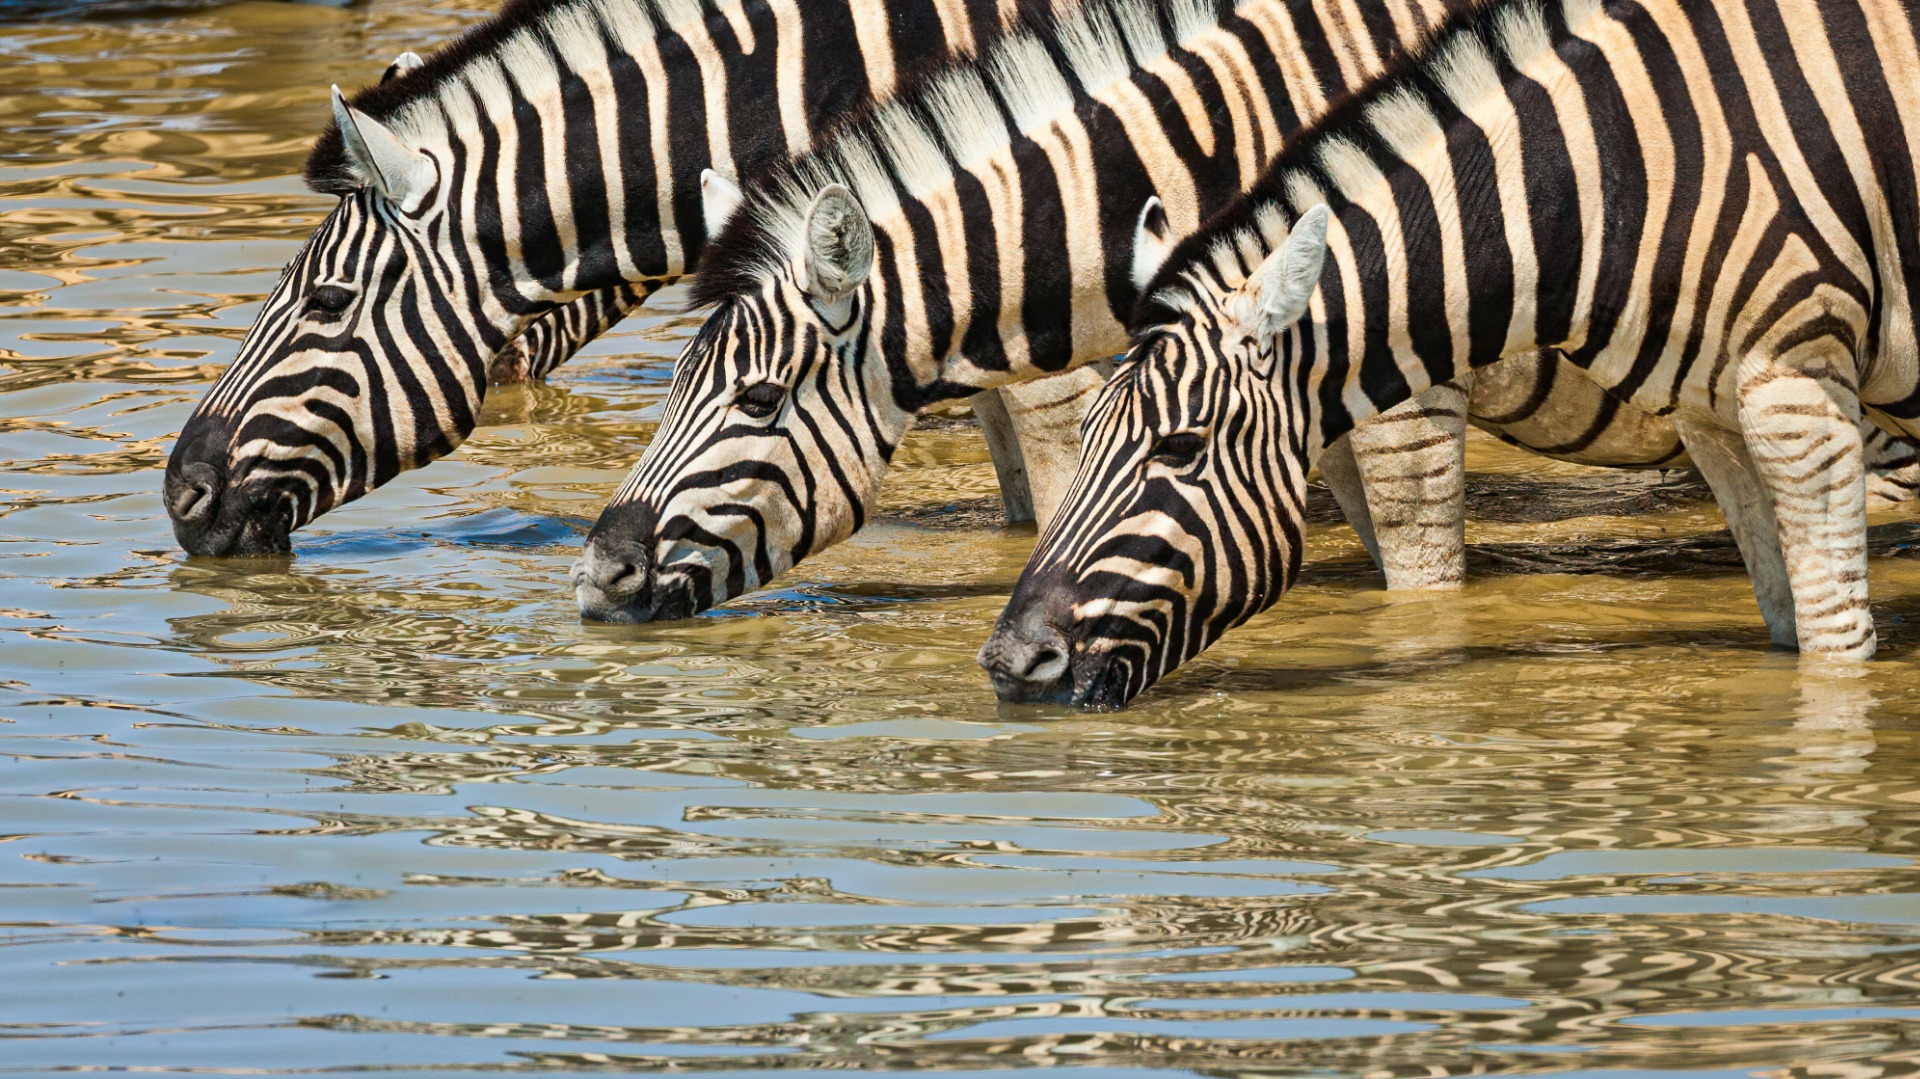
The most valuable skill is not technical but observational. Spend time simply watching before raising the camera. Notice how a herd of zebra moves as a single unit, how a martial eagle scans the ground from a high branch, or how dust rises in golden shafts when a vehicle approaches a dry riverbed. These moments of quiet attention sharpen both eye and reflexes.
Review your images each evening with your guide or a more experienced traveller. Discuss what worked and what could be improved. Over the course of a seven- or ten-day safari, most beginners show remarkable progress when they apply consistent adjustments and remain curious.
Encounters Africa regularly incorporates photography guidance into its tailor-made journeys, pairing guests with camps that offer dedicated vehicles for those wishing to linger at sightings. For discerning travellers seeking a private safari beyond our set itineraries, we invite you to contact us directly. We specialise in designing exceptional, tailor-made journeys for individuals, couples, families, and private groups of up to eight guests. Drawing on our handpicked network of distinguished camps and lodges, we curate every detail with precision and care, creating a seamless, deeply personal safari experience shaped entirely around your preferences, pace, and budget.
Conclusion
African wildlife photography rewards patience, preparation and presence. By mastering a few core camera adjustments, reading the light, anticipating behaviour and composing with respect, beginners quickly produce images that communicate the wonder they feel in the field. The technical elements are merely tools; the real craft lies in recognising and honouring the fleeting stories unfolding on the plains, in the wetlands and beneath acacia canopies.
Whether you are framing your first lion at dawn in the Masai Mara or capturing a herd crossing the Chobe River at dusk, these foundational skills will serve you across every African destination. The continent’s light, scale and extraordinary biodiversity offer endless opportunities for growth as a photographer and as an observer of the natural world.
If these insights have sparked your interest in combining serious photography with an authentic safari experience, we would be delighted to design a journey around your vision. From specialised photographic vehicles to private guiding that maximises time at key sightings, Encounters Africa crafts each itinerary with the same care you bring to your craft. Visit our enquiry form to begin a conversation about your next safari.
More like this
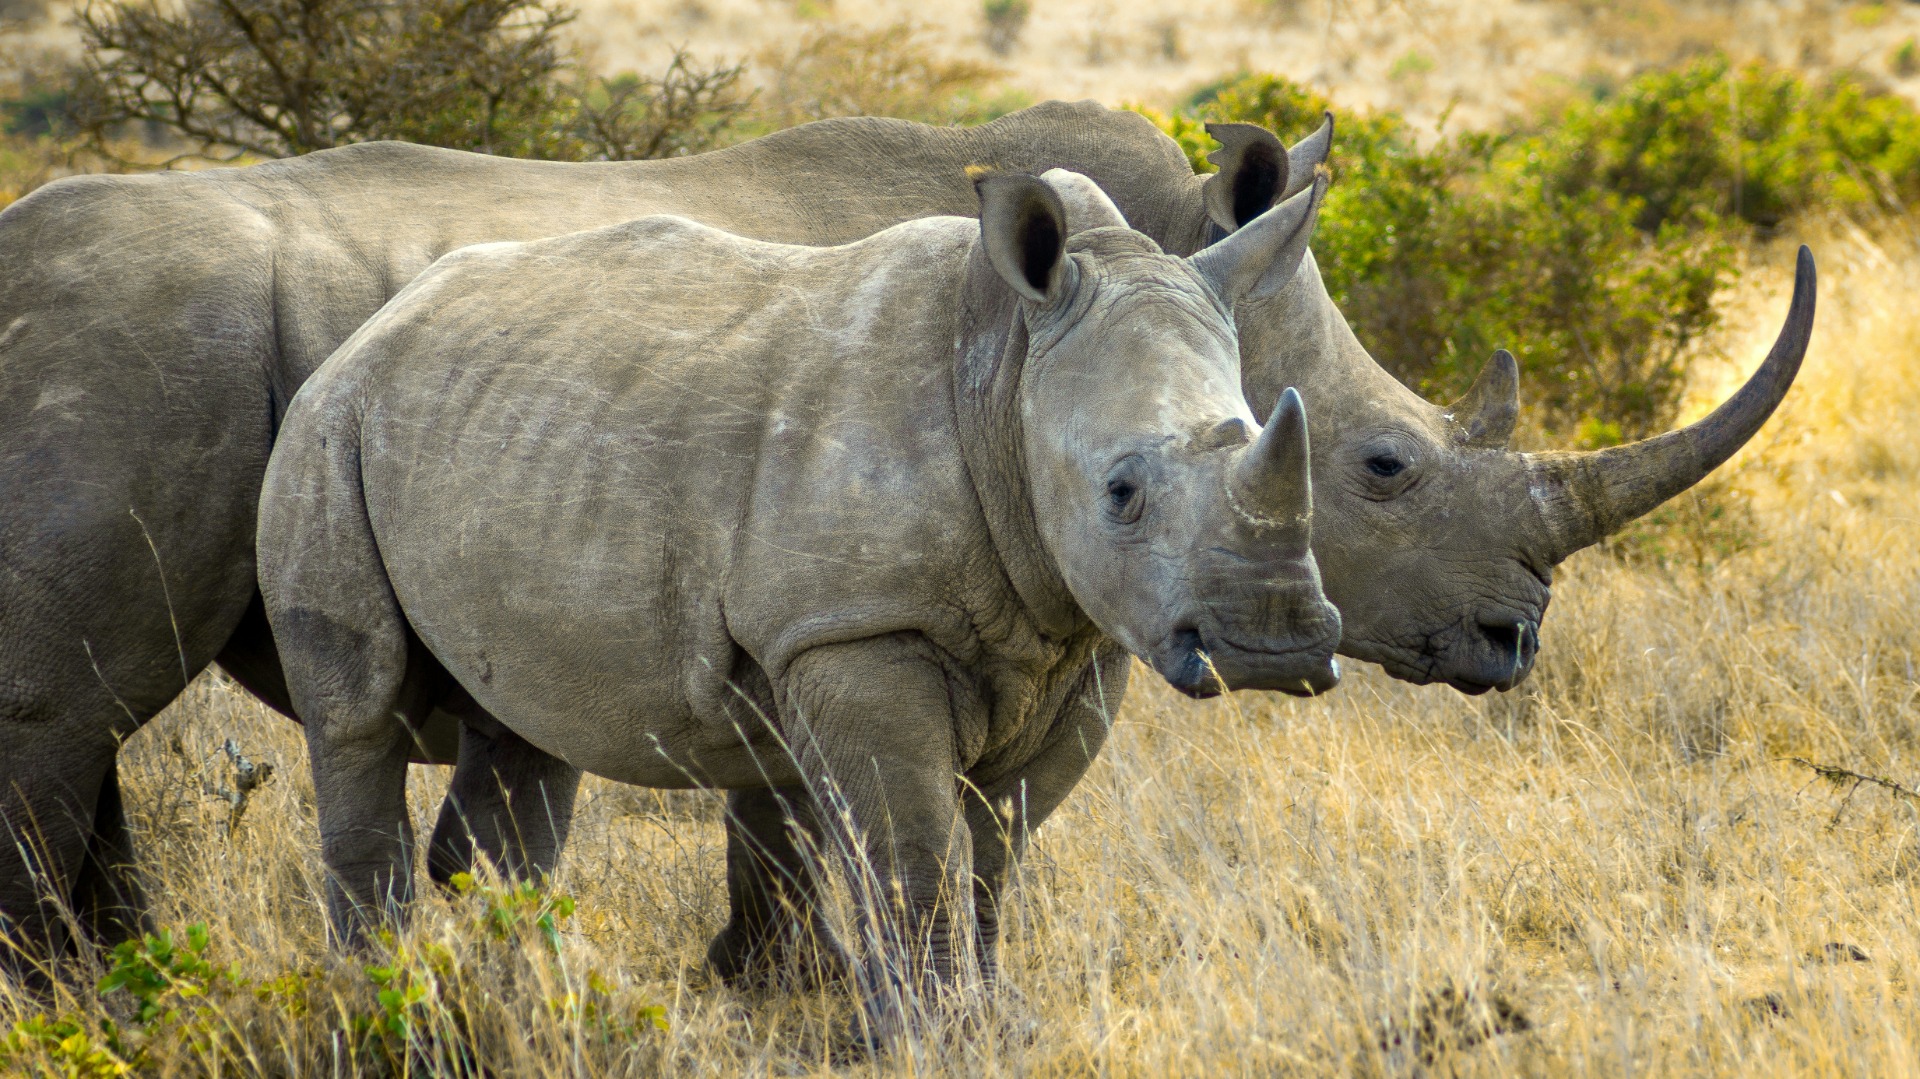
Photography
Camera Settings That Capture Kenya’s Shifting Light on Safari Drives
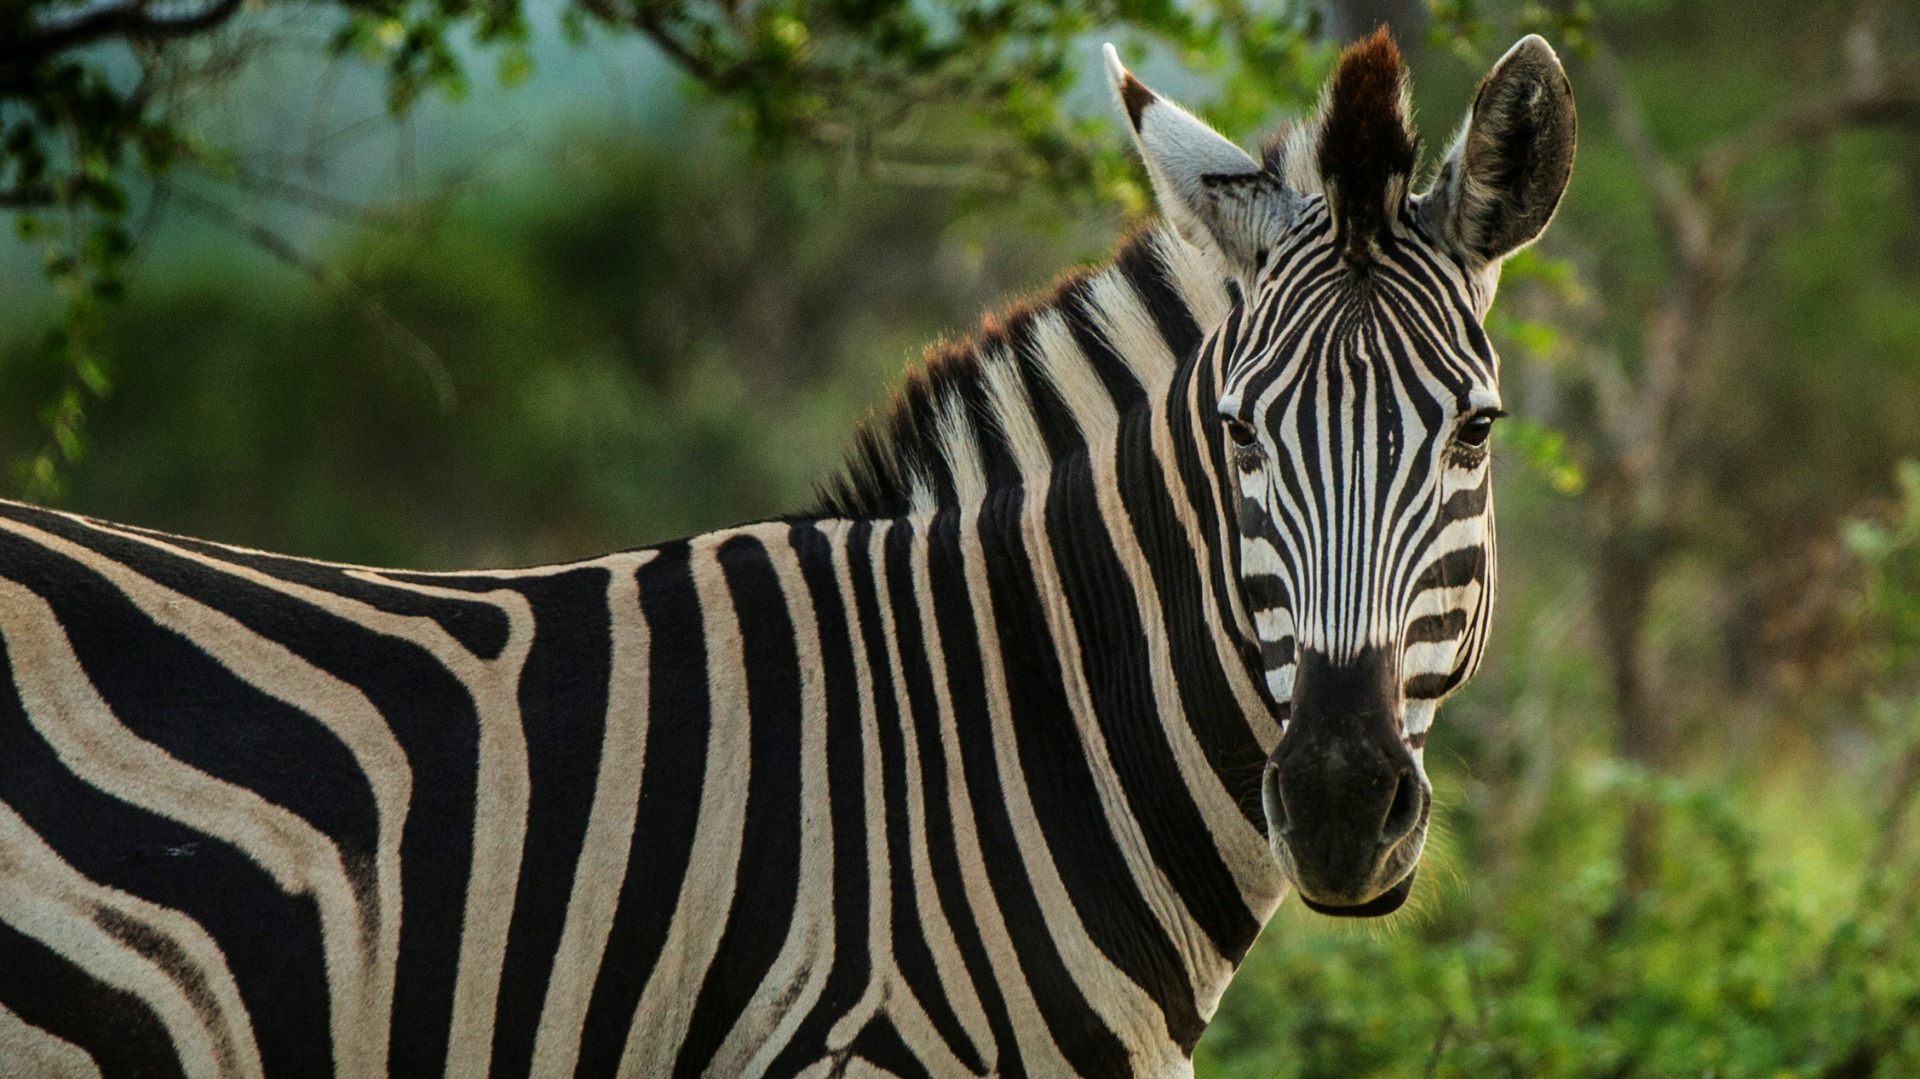
Photography
Capture Zambia’s Dramatic Light: Prime Spots for Wildlife Photography
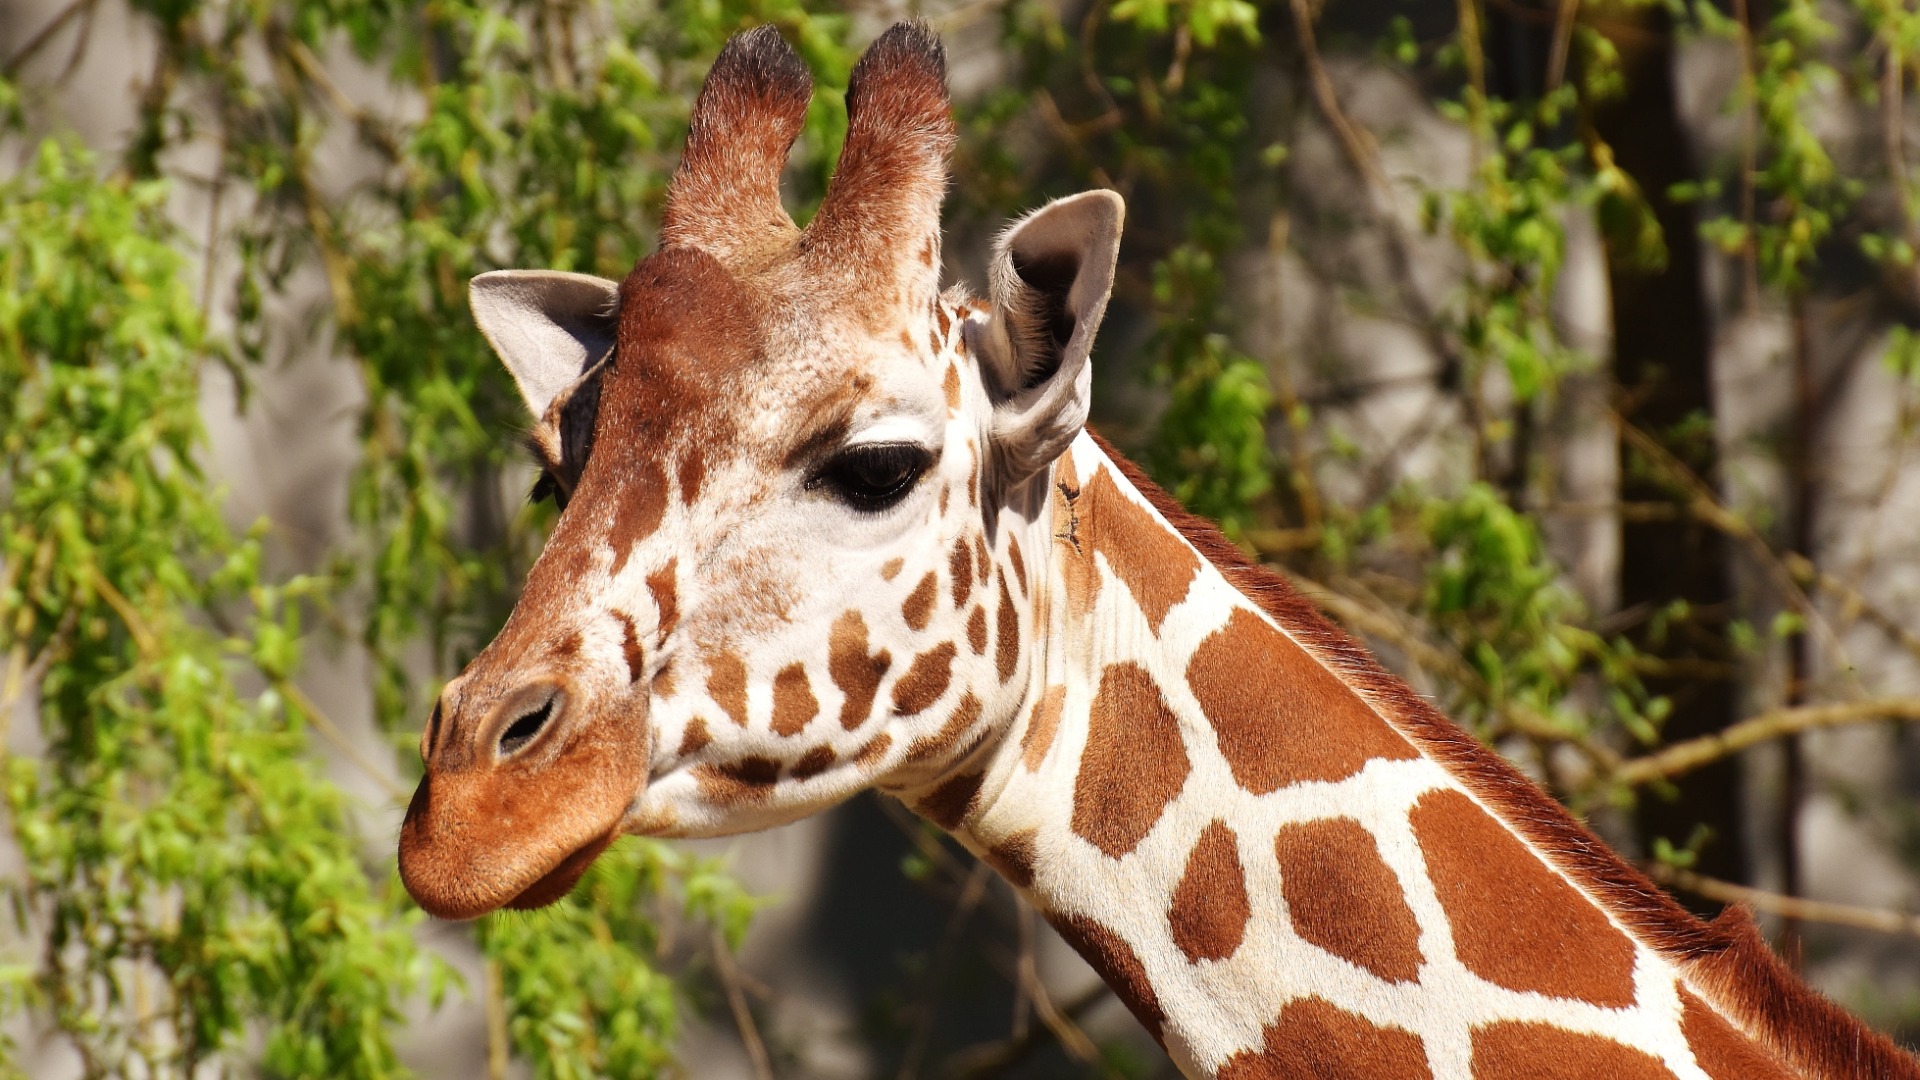
Photography
Chasing the Light: A Photographer's Personal Encounters in Kenya
photography
Choosing Bean Bags Over Gimbals for Photographic Safaris in Africa
photography
Drones Face Strict No-Fly Rules Across African Parks
Photography