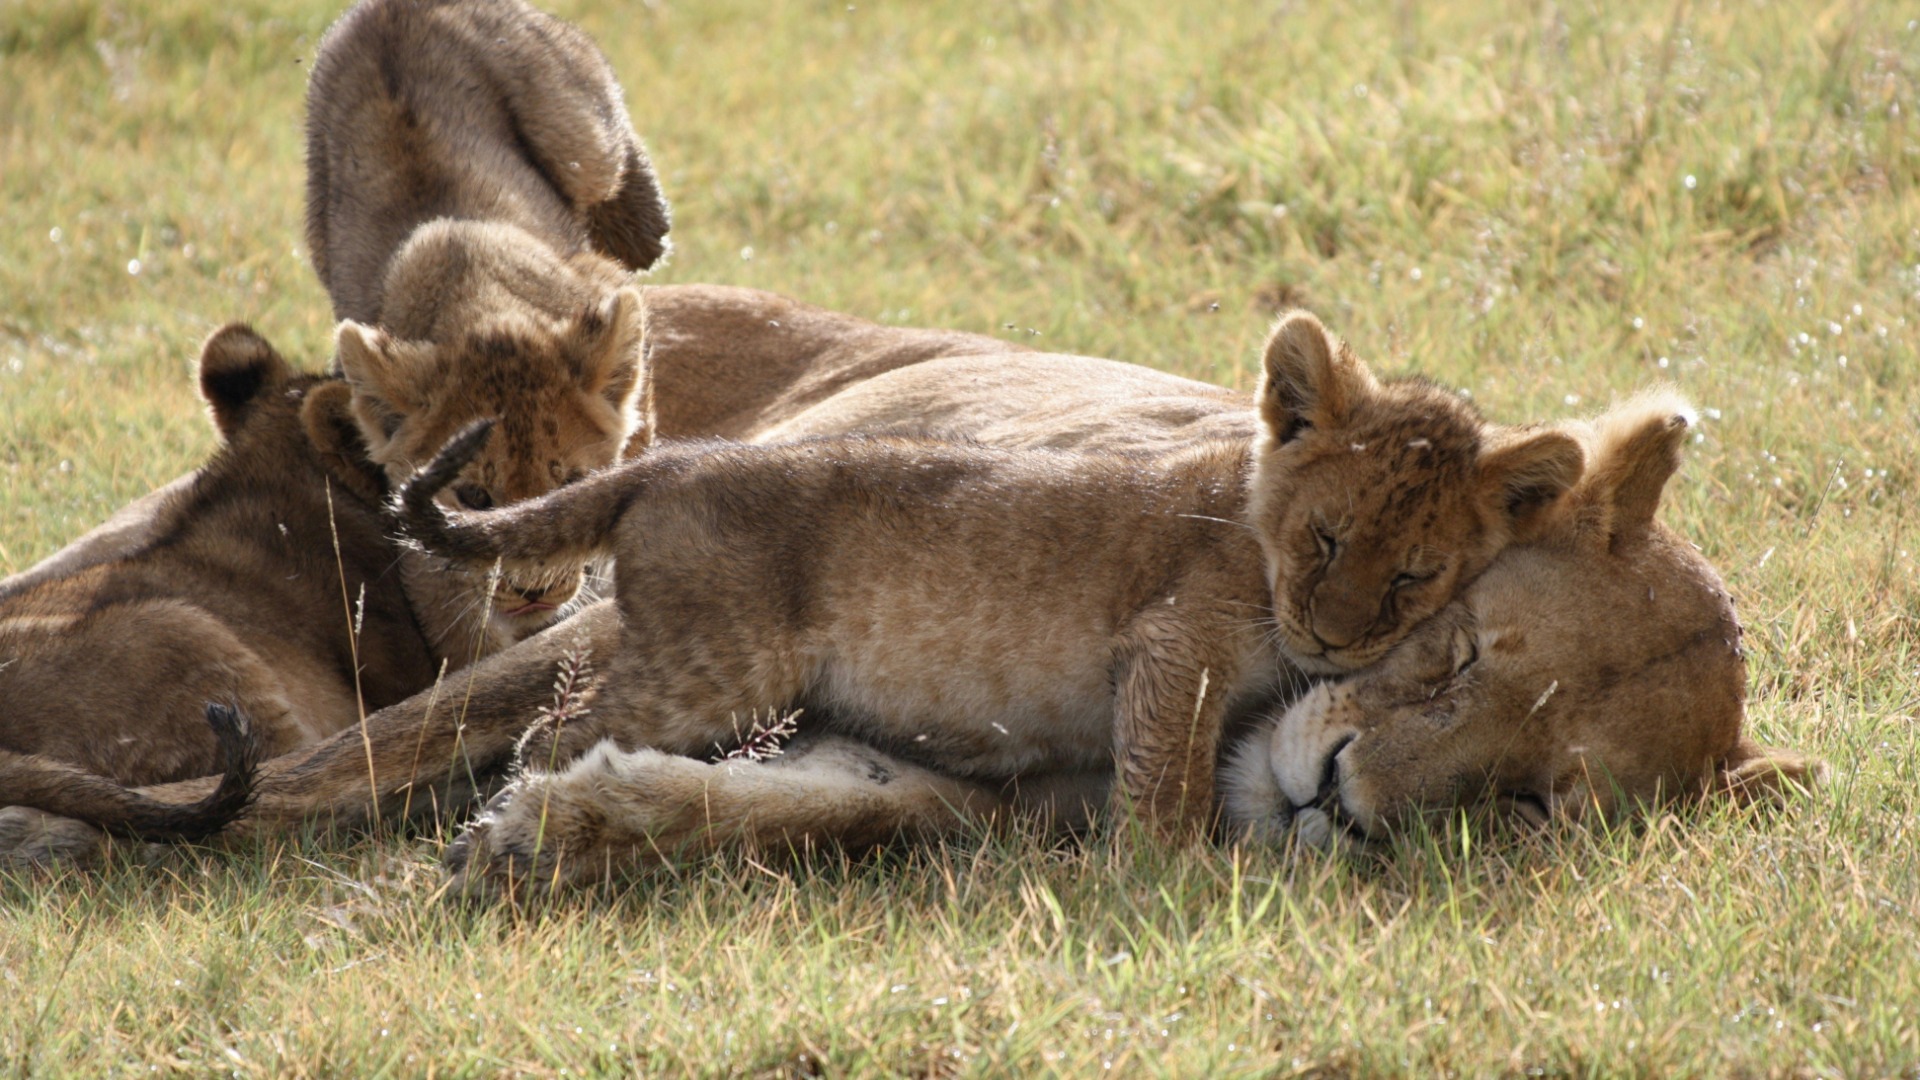
Photography
Master Low-Light Safari Shots: Camera Settings That Capture Kruger Nights
Encounters Africa - 10 min read
Updated on 13 August 2026
As the last traces of daylight fade over the South African bushveld, a different world stirs in South Africa. Master low-light safari shots become essential when your vehicle’s spotlight catches the glint of a leopard’s eye or the silhouette of a hyena slinking through tall grass. The approved excerpt captures the core challenge: adjusting ISO, shutter speed, and aperture for sharp images of nocturnal wildlife under limited starlight or vehicle spotlights during a Kruger night safari. With the right techniques, these fleeting moments transform into powerful, atmospheric photographs that convey the quiet intensity of the African night.
Encounters Africa travellers often return from Kruger National Park night drives with stories of close encounters that demand quick camera adjustments. The park’s vast 19,485 square kilometres support one of the highest densities of nocturnal predators in Africa, making it an ideal classroom for honing low-light skills. Whether you are using a professional DSLR, mirrorless body, or high-end compact, understanding how light behaves after sunset will dramatically improve your results.

The African night holds its own rhythm; once you learn to expose for it rather than fight the darkness, your images begin to breathe with authenticity.
Why Night Safaris in Kruger Reward the Prepared Photographer
Kruger’s night drives operate between April and September when temperatures drop and animals become more active after sunset. Official park regulations limit spotlight use to red or amber filters in many private concessions, preserving animals’ natural vision while giving photographers a consistent, low-intensity light source. Expect to cover between 15 and 30 kilometres per drive, with frequent stops when guides locate interesting subjects.
The combination of vehicle movement, limited artificial light, and unpredictable wildlife behaviour creates a unique set of technical hurdles. A spotted hyena may trot past at 20 metres while a Verreaux’s eagle-owl sits motionless on a branch 40 metres away. Successful images require both technical precision and an intuitive understanding of animal movement patterns after dark.
Many Encounters Africa guests combine a three-night stay at a private lodge with specialist photography guidance, allowing time to experiment across different moon phases. The transition from quarter moon to full moon changes available ambient light by several stops, directly affecting which camera settings deliver clean results.
Essential Camera Settings for Kruger Night Drives
Master low-light safari shots by treating your camera as a responsive tool rather than a point-and-shoot device. Begin in manual mode so you maintain full control over the exposure triangle. The interplay between ISO, shutter speed, and aperture becomes your primary language once natural light disappears.
ISO: Balancing Sensitivity and Noise
Start at ISO 1600 for spotlight-illuminated subjects and be prepared to push to 3200 or 6400 when working with starlight alone. Modern full-frame sensors handle these values with remarkable grace, especially when shooting in RAW to allow later noise reduction. For crop-sensor cameras, consider staying closer to ISO 3200 as your ceiling unless you accept some visible grain as part of the nocturnal aesthetic.
Pay attention to your camera’s dual ISO performance. Many newer mirrorless bodies produce cleaner files at specific ISO values (often multiples of 1600), so test your equipment before departure. When the guide switches off the spotlight between sightings, drop your ISO immediately to avoid unnecessary noise in darker frames.
Noise in night photographs of African wildlife is not failure; it can become texture that echoes the rough coat of a hyena or the mottled feathers of a nightjar.
Shutter Speed: Freezing Motion Without Blur
For stationary subjects like a resting lion or perched owl, 1/60th of a second often suffices when using a stabilised lens. Moving animals demand faster speeds: 1/200th for a walking hyena, 1/400th or higher for a galloping wildebeest. Image stabilisation systems typically buy you two to four stops, allowing slower shutter speeds while hand-holding from a stationary vehicle.
Consider the reciprocal rule adjusted for crop factor. On a full-frame body, a 200mm lens suggests 1/200th of a second as a baseline. With a 1.5x crop sensor, that same focal length effectively becomes 300mm, suggesting 1/300th. These numbers serve as starting points rather than rigid rules when working in dynamic bush conditions.
Aperture: Maximising Light and Depth of Field
Prime lenses with maximum apertures of f/2.8 or faster prove invaluable after dark. Popular choices include 70-200mm f/2.8 zooms or 400mm f/2.8 primes, though the latter requires careful handling from a safari vehicle. When depth of field matters more than light gathering, stopping down to f/4 or f/5.6 can keep both the eyes and surrounding environment acceptably sharp.
Remember that spotlight distance affects effective aperture. When the guide moves the beam closer to your subject, the increased illumination may allow you to close the aperture slightly, improving sharpness across the frame without raising ISO further.
Recommended Equipment for Low-Light Safari Photography
Successful night photography in Kruger rarely relies on a single piece of kit. A robust system combines quality glass, stable support, and thoughtful accessories that work within the confined space of an open safari vehicle.
Fast telephoto zooms remain the most practical choice for versatility. The Nikon Z 70-200mm f/2.8 S, Canon RF 70-200mm f/2.8, and Sony 100-400mm f/4.5-5.6 GM offer excellent low-light performance with manageable weight. Pair these with a sturdy monopod that can clamp to the vehicle’s roll bar when needed, though many experienced travellers prefer shooting handheld to maintain mobility.
Bring at least two camera bodies if possible. Keep one fitted with a wider zoom for environmental context and the second with a longer telephoto for intimate portraits. A head torch with a red-light setting helps locate controls without ruining your night vision or disturbing animals. Spare batteries are essential, as cold winter nights in Kruger drain power faster than expected.
Consider a wireless remote trigger for those rare moments when you can set up on a tripod during a scheduled night hide experience. For standard game drives, however, speed and adaptability matter more than absolute stability.
Techniques for Different Nocturnal Subjects in Kruger
Each species presents its own photographic demands after sunset. A practical approach involves anticipating behaviour patterns and adjusting settings before the moment arrives.
Capturing Predators on the Move
Lions and leopards often move with deliberate slowness, allowing shutter speeds around 1/160th when spotlighted. Position yourself so the animal’s eyes catch direct light while maintaining enough distance to avoid startling them. Continuous autofocus with subject tracking helps when a big cat suddenly changes direction.
Hyenas present greater challenges due to their trotting gait. Pre-focus on a likely path and use burst mode to increase your chances of a sharp frame. When working with red-filtered lights, you may need to raise ISO by an additional stop compared with white spotlights.
Photographing Nocturnal Birds and Smaller Mammals
Bushbabies, genets, and owls require faster reaction times and often higher ISO values. These smaller subjects benefit from shooting at the widest aperture to isolate them against dark backgrounds. A 300mm or 400mm lens helps fill the frame without needing to approach too closely.
For porcupines and aardvarks, patience yields better results than frantic shooting. Wait for them to pause while foraging, then use spot metering on their illuminated sections to avoid blowing out highlights from the spotlight.
Common Challenges and How to Overcome Them
Vehicle vibration, unpredictable spotlight movement, and atmospheric dust all complicate low-light work in Kruger. The following solutions address the most frequent issues reported by Encounters Africa travellers.
When the vehicle engine is running, switch off image stabilisation to prevent the system from fighting subtle vibrations. If your guide stops the vehicle completely, reactivate stabilisation for sharper handheld shots. Dust on lenses becomes more noticeable in spotlight beams; carry a blower bulb and lens cloth within easy reach.
Back-button focusing proves particularly useful during night drives. It separates focus acquisition from shutter release, allowing you to lock focus on an animal’s eye then recompose as the spotlight shifts. Practice this technique during daytime drives so it becomes instinctive after dark.
Exposure compensation becomes your friend when animals move between different intensities of spotlight coverage. Dial in +0.3 to +0.7 when the subject is partially backlit by surrounding vegetation to prevent underexposure of important details.
Technical mastery matters, yet the most compelling night photographs from Kruger capture something deeper: the wild pulse of an ecosystem that continues its ancient rhythms long after the sun has set.
What Camera Settings Should I Use for Night Safari Photography in Kruger?
This question appears regularly in enquiries to Encounters Africa. While every situation varies, the following baseline settings provide reliable starting points that you can adjust according to conditions:
Spotlight-illuminated lion at 25 metres: ISO 1600, 1/250th sec, f/4 with a 200mm lens
Walking leopard at 15 metres: ISO 3200, 1/400th sec, f/2.8
Stationary owl in ambient moonlight: ISO 6400, 1/60th sec, f/2.8 on a stabilised 400mm lens
Environmental scene with vehicle lights: ISO 800, 1/30th sec, f/5.6 to retain some foreground detail
Always shoot in RAW. The additional data captured in low light allows significant recovery of shadow detail and reduction of noise during post-processing. Applications such as Lightroom’s Denoise AI or Capture One’s noise reduction tools have improved dramatically, salvaging files that would have been unusable a few years ago.
Review your histogram after each significant sighting rather than relying on the LCD screen, which can appear deceptively bright in complete darkness. Pay particular attention to highlight clipping on reflective eyes and teeth, which can ruin an otherwise excellent frame.
Post-Processing Approaches for Atmospheric Night Images
Raw files from night safaris often look flat and noisy on first inspection. Thoughtful editing restores the drama while maintaining authenticity. Begin by reducing noise selectively rather than applying global adjustments. Luminance noise reduction at 25-40 usually suffices for ISO 3200 files from modern sensors.
Enhance contrast through targeted curves adjustments, lifting shadows where important detail hides while protecting the deep blacks that give night photographs their mystery. Subtle vignette application helps draw attention to your subject, mimicking the way a spotlight naturally focuses the eye.
Colour balance requires care. Spotlight temperatures vary between vehicles, sometimes producing overly warm casts that can be corrected by setting a custom white balance around 3800K. When mixing moonlight and artificial light, consider splitting the white balance during RAW development to maintain natural tones in different parts of the scene.
Resist the temptation to over-sharpen. Nocturnal images often benefit from softer rendering that echoes the gentle diffusion of starlight and filtered spotlights across the African landscape.

Bringing Kruger’s Nights Home Through Your Lens
Mastering low-light safari shots rewards patience, preparation, and a willingness to embrace the unpredictable nature of wildlife after dark. The images you create during Kruger night drives often become the most treasured in your collection, carrying the distinctive atmosphere that defines the African wilderness at night.
Encounters Africa has guided countless photographers toward more confident night-time work through carefully designed specialist departures and private instruction. For discerning travellers seeking a private safari beyond our set itineraries, we invite you to contact us directly. We specialise in designing exceptional, tailor-made journeys for individuals, couples, families, and private groups of up to eight guests. Drawing on our handpicked network of distinguished camps and lodges, we curate every detail with precision and care, creating a seamless, deeply personal safari experience shaped entirely around your preferences, pace, and budget.
Whether you plan to focus exclusively on night photography or combine it with daytime tracking and hides, our team can connect you with the right guides, vehicles, and accommodation to support your creative goals. Visit our enquiry form to begin planning your own Kruger night safari experience. The darkness awaits, full of possibility for those ready to see it clearly.
More like this
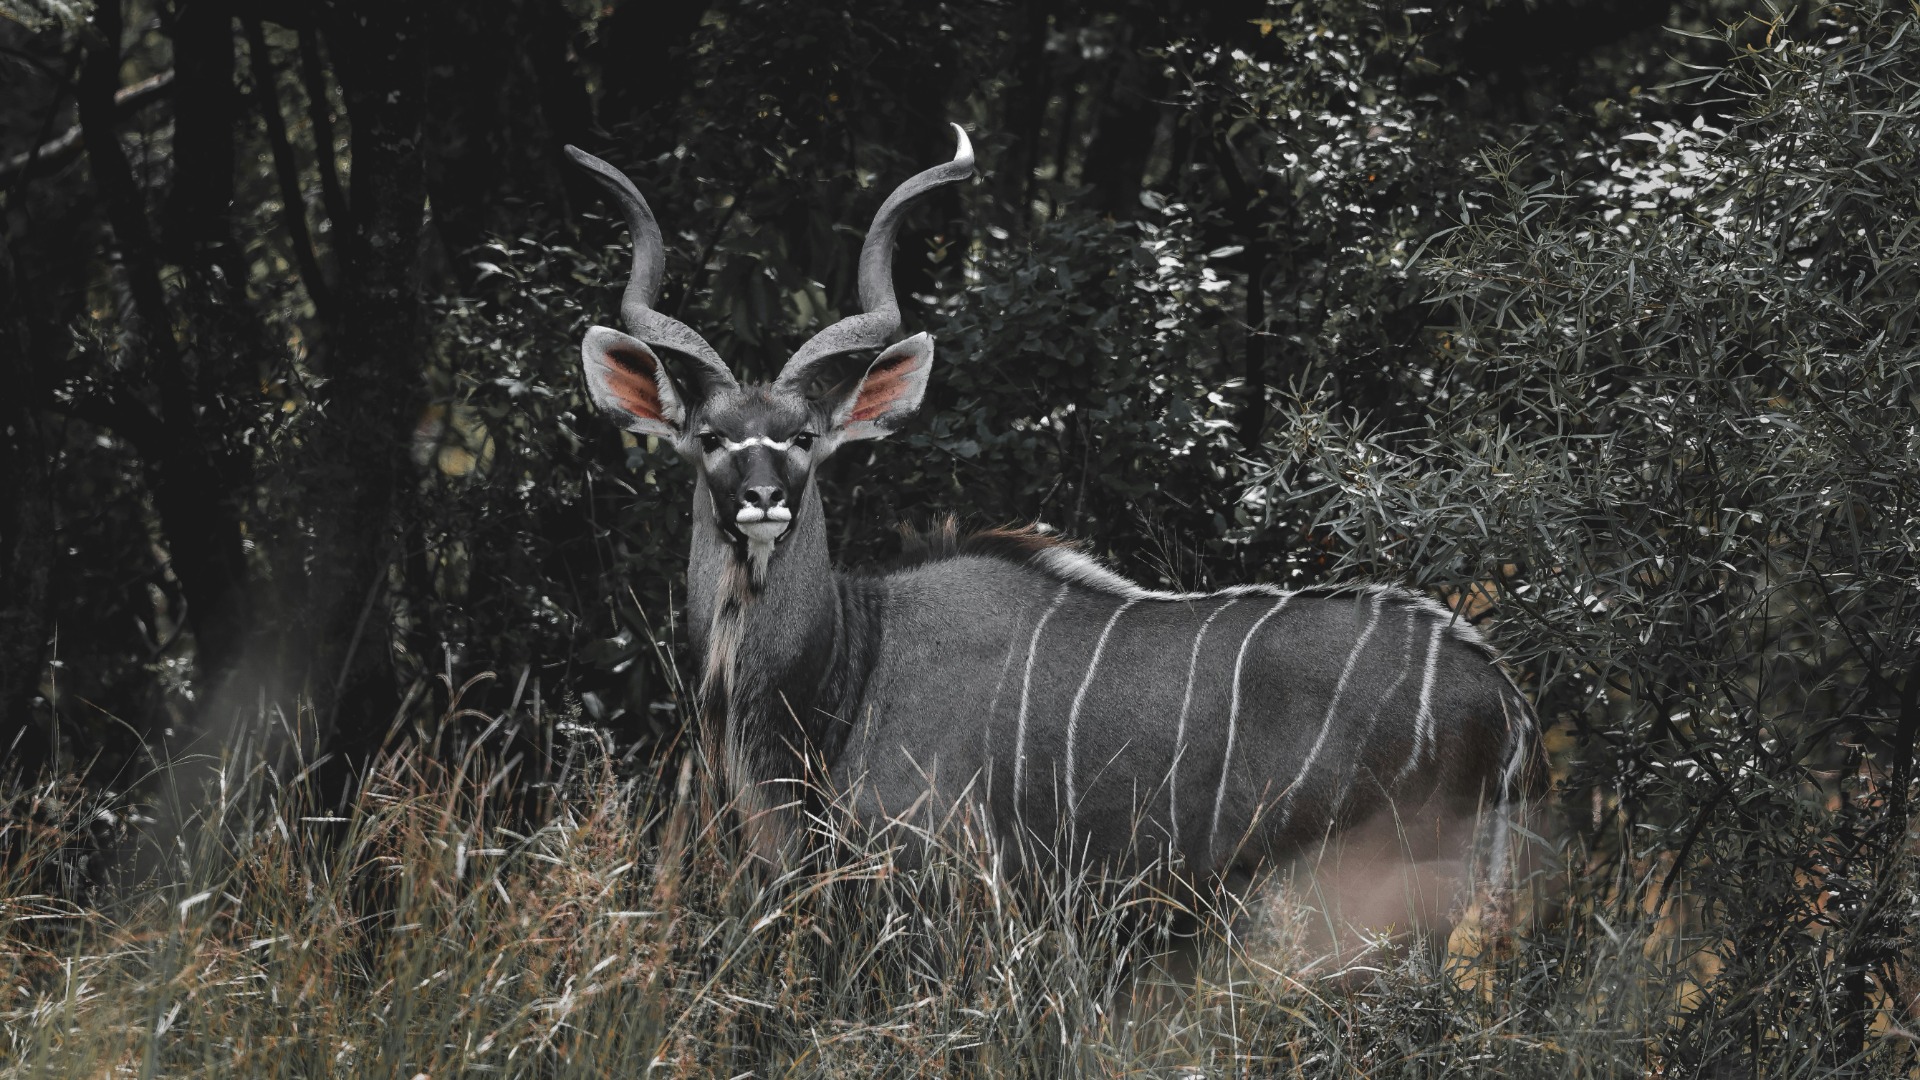
Photography
Golden Hour in the Drakensberg: Field-Proven Camera Settings for Dramatic Landscapes
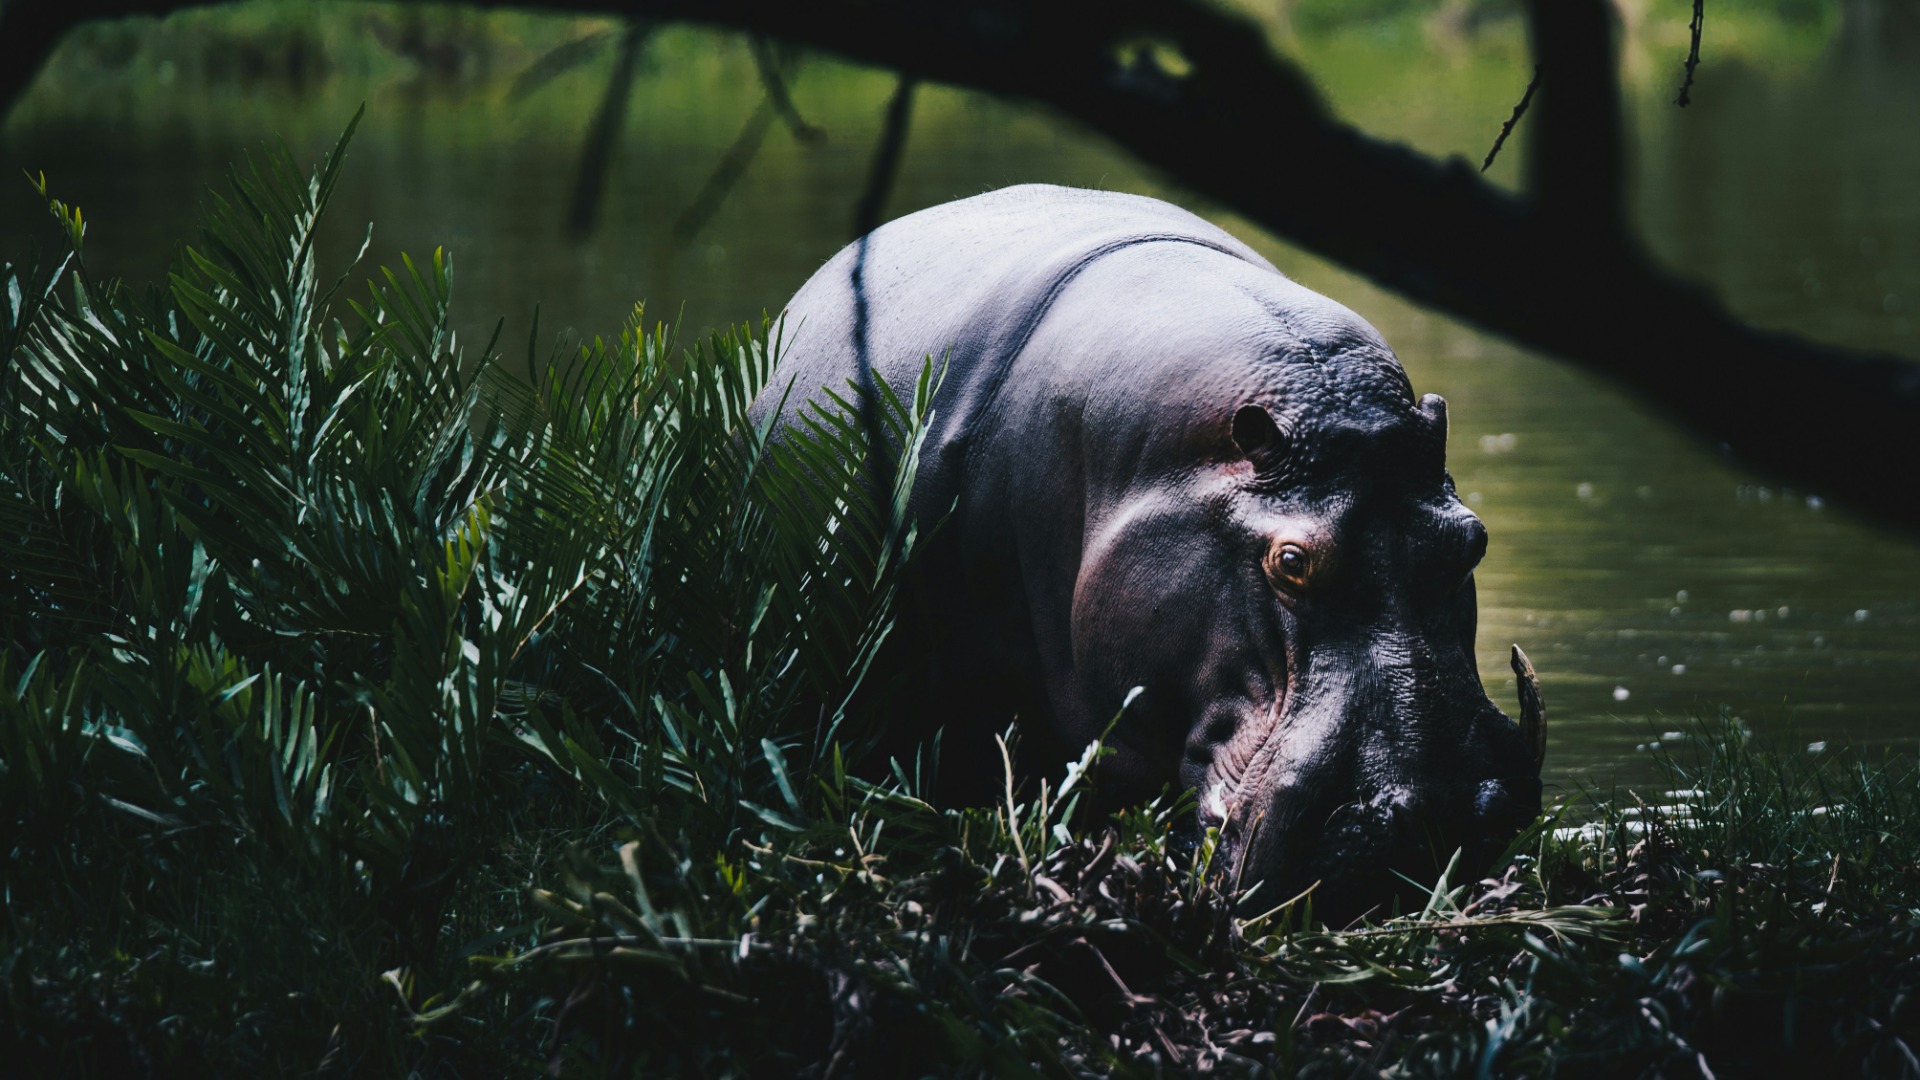
Photography
Mastering Light and Composition for Kenya’s Big Five on Camera
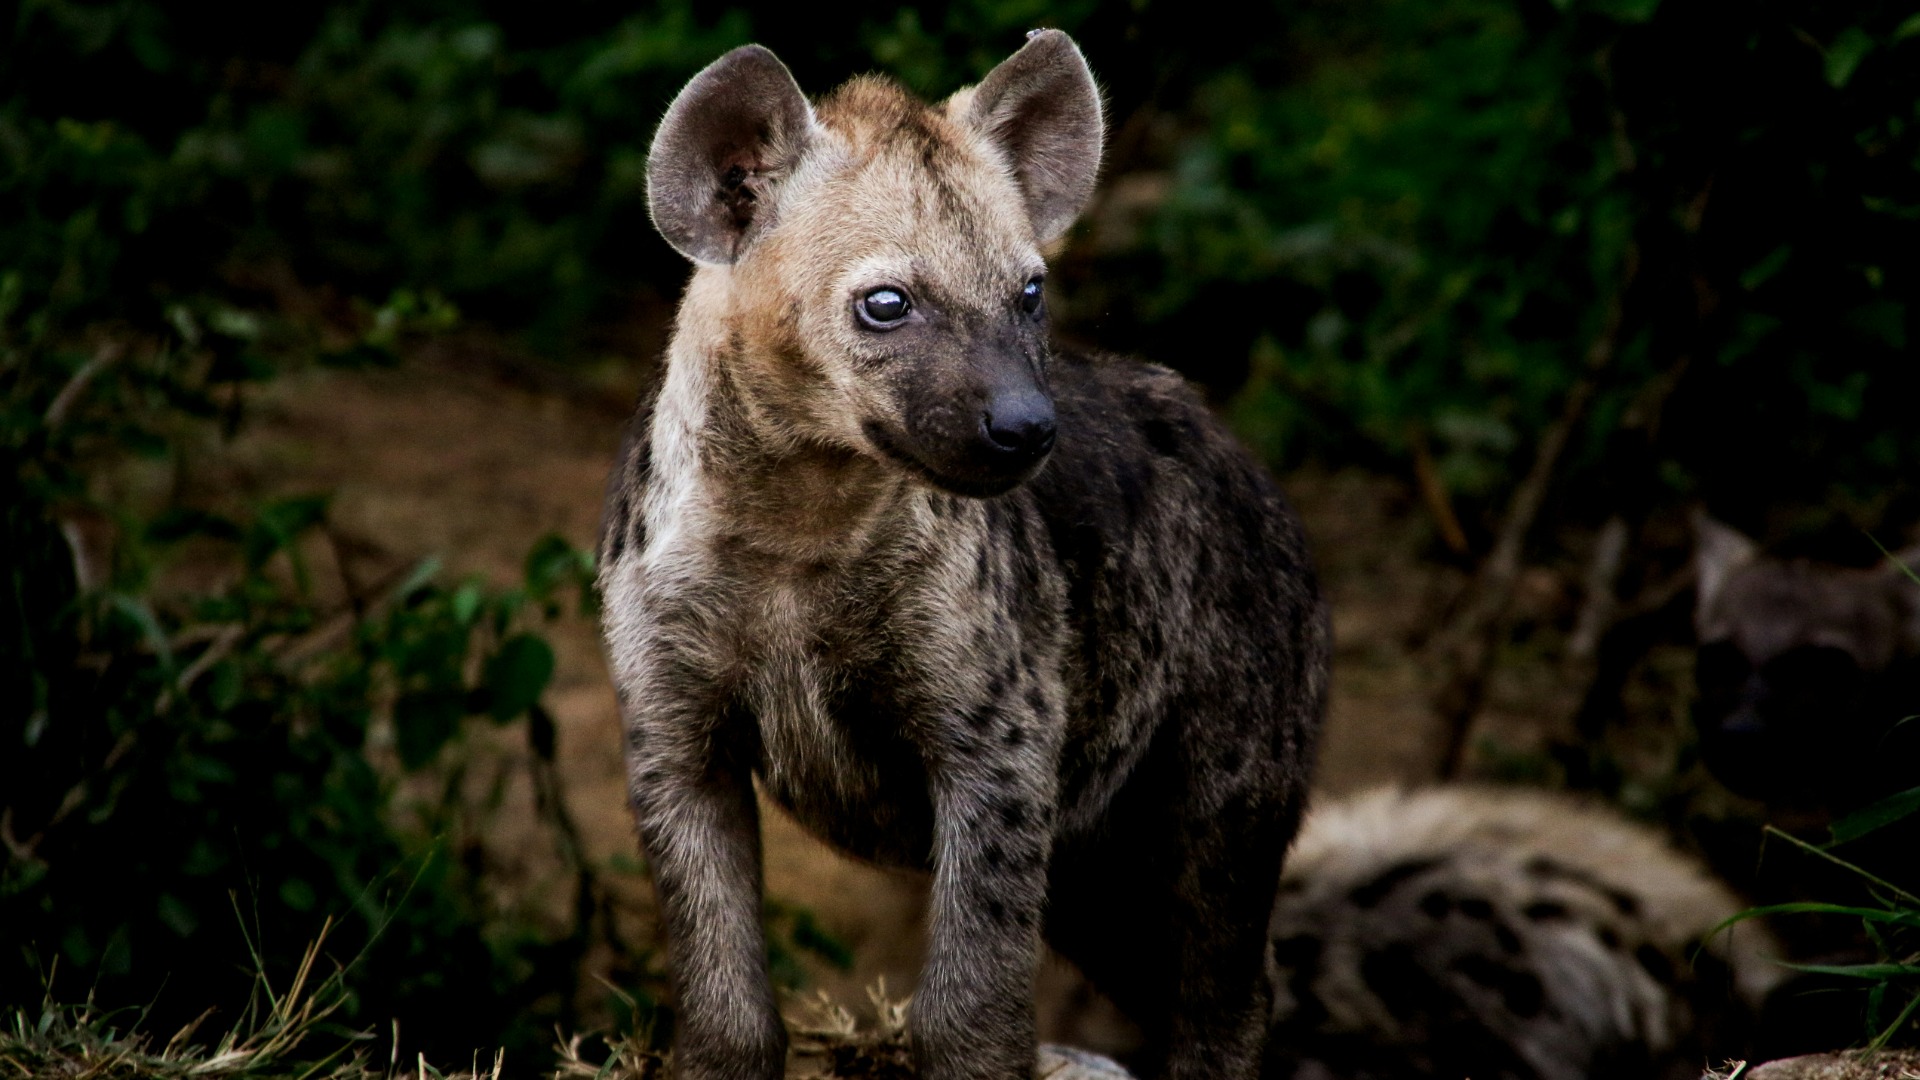
Photography
Mastering Light and Composition for South African Wildlife Photography
Photography
Mastering Light and Composition for Wildlife Shots in Southern Africa
photography
Light and Ethics: Field Techniques for Photographing Tanzania’s Endangered Wildlife
Photography