Photography
Practical Camera Techniques for Capturing African Wildlife in Shifting Light
Encounters Africa - 9 min read
Updated on 10 August 2026
As the first rays of dawn filter across the East African savanna, the shifting light transforms familiar scenes into something almost otherworldly. For those travelling with Encounters Africa, mastering practical camera techniques for capturing African wildlife in shifting light becomes essential to preserving these fleeting moments with authenticity and impact. This guide distils years of field experience into actionable advice that helps you balance technical precision with creative intuition across the sun-drenched landscapes of Kenya and Tanzania.
The best time to visit for dramatic light variation is during the dry seasons, typically from June to October and December to March, when clear skies amplify the contrast between golden hour warmth and harsh midday glare. Expect rapid transitions from soft, diffused dawn tones to high-contrast midday shadows and then the rich, saturated hues of late afternoon. A factual summary: successful wildlife photography in these conditions relies on adapting aperture, shutter speed, and ISO in real time while maintaining respectful distances that never disturb the animals.

In the golden hour on the savanna, the difference between a good photograph and a memorable one often lies in your ability to read the light before you raise the camera.
Understanding Light Patterns Across East African Landscapes
The equatorial sun moves swiftly, creating pronounced shifts in colour temperature and intensity throughout the day. At sunrise, the light carries a warm, reddish cast ideal for highlighting the texture of an elephant's skin or the delicate patterns on a zebra's coat. By mid-morning, the sun climbs higher, producing stark shadows that can obscure detail unless you compensate with careful exposure.
In Masai Mara National Reserve, the open grasslands amplify these changes, while the denser woodlands of the Serengeti offer pockets of dappled light that require different approaches. Photographers who anticipate these transitions can move from backlit silhouettes at dawn to front-lit portraits as the sun rises, capturing a fuller story of each encounter.
Seasoned guides from Encounters Africa often point out that the fifteen minutes immediately following sunrise and preceding sunset deliver the most painterly illumination. During these windows, the lower angle of light reveals subtle details invisible at other times, from the individual whiskers of a lion to the intricate feather structure of a lilac-breasted roller.
Golden Hour Strategies That Deliver Consistent Results
Position yourself so the sun falls at a 45-degree angle to your subject when possible. This sidelighting creates depth and dimension without the unflattering flatness of direct front light. When working with Angama Mara, vehicles can often be manoeuvred quietly to optimise these angles while keeping a minimum 30-metre distance from predators.
Adjust your white balance manually to around 5500K during early morning to preserve the natural warmth rather than letting the camera neutralise it. Slight underexposure by a third to half a stop prevents blown highlights in the sky while retaining shadow detail that can be recovered in post-processing.
The most evocative frames often emerge not when the light is perfect, but when you have learned to work confidently with whatever the African sun presents.
Camera Settings for Shifting Light Conditions
Practical camera techniques for capturing African wildlife in shifting light begin with understanding the relationship between aperture, shutter speed, and ISO. In low dawn light, open your aperture to f/4 or wider while keeping ISO below 800 to minimise noise. As brightness increases, stop down to f/8 or f/11 for greater depth of field when photographing herds or birds in flight.
Shutter speeds below 1/500th of a second risk motion blur with moving animals, particularly during the energetic hours around sunrise when predators are most active. Many professionals use aperture priority mode during stable light periods but switch to manual when conditions change rapidly, allowing precise control over every variable.
ISO Management During Golden Hour on the Savanna
Learn to balance aperture and ISO during golden hour on the savanna by starting at ISO 400 and only increasing when necessary. Modern mirrorless cameras handle ISO 1600 and even 3200 with remarkable cleanliness, but the goal remains keeping noise to a minimum so that fine details like the texture of a cheetah's tear marks remain crisp.
When light fades quickly at dusk, raise ISO rather than slowing shutter speed if the animal is moving. A sharp, slightly noisy image will always outperform a blurred but clean one. In practice, this means monitoring your histogram closely and exposing to the right without clipping highlights.
Anticipating Animal Movement and Behaviour
Wildlife rarely remains static, particularly during the changing light of early morning and late afternoon. Anticipate sudden movement from predators by studying their body language: a slight tensing of muscles, forward positioning of ears, or fixed stare often precedes a burst of activity. Keeping your camera at eye level with finger on the shutter allows instantaneous response.
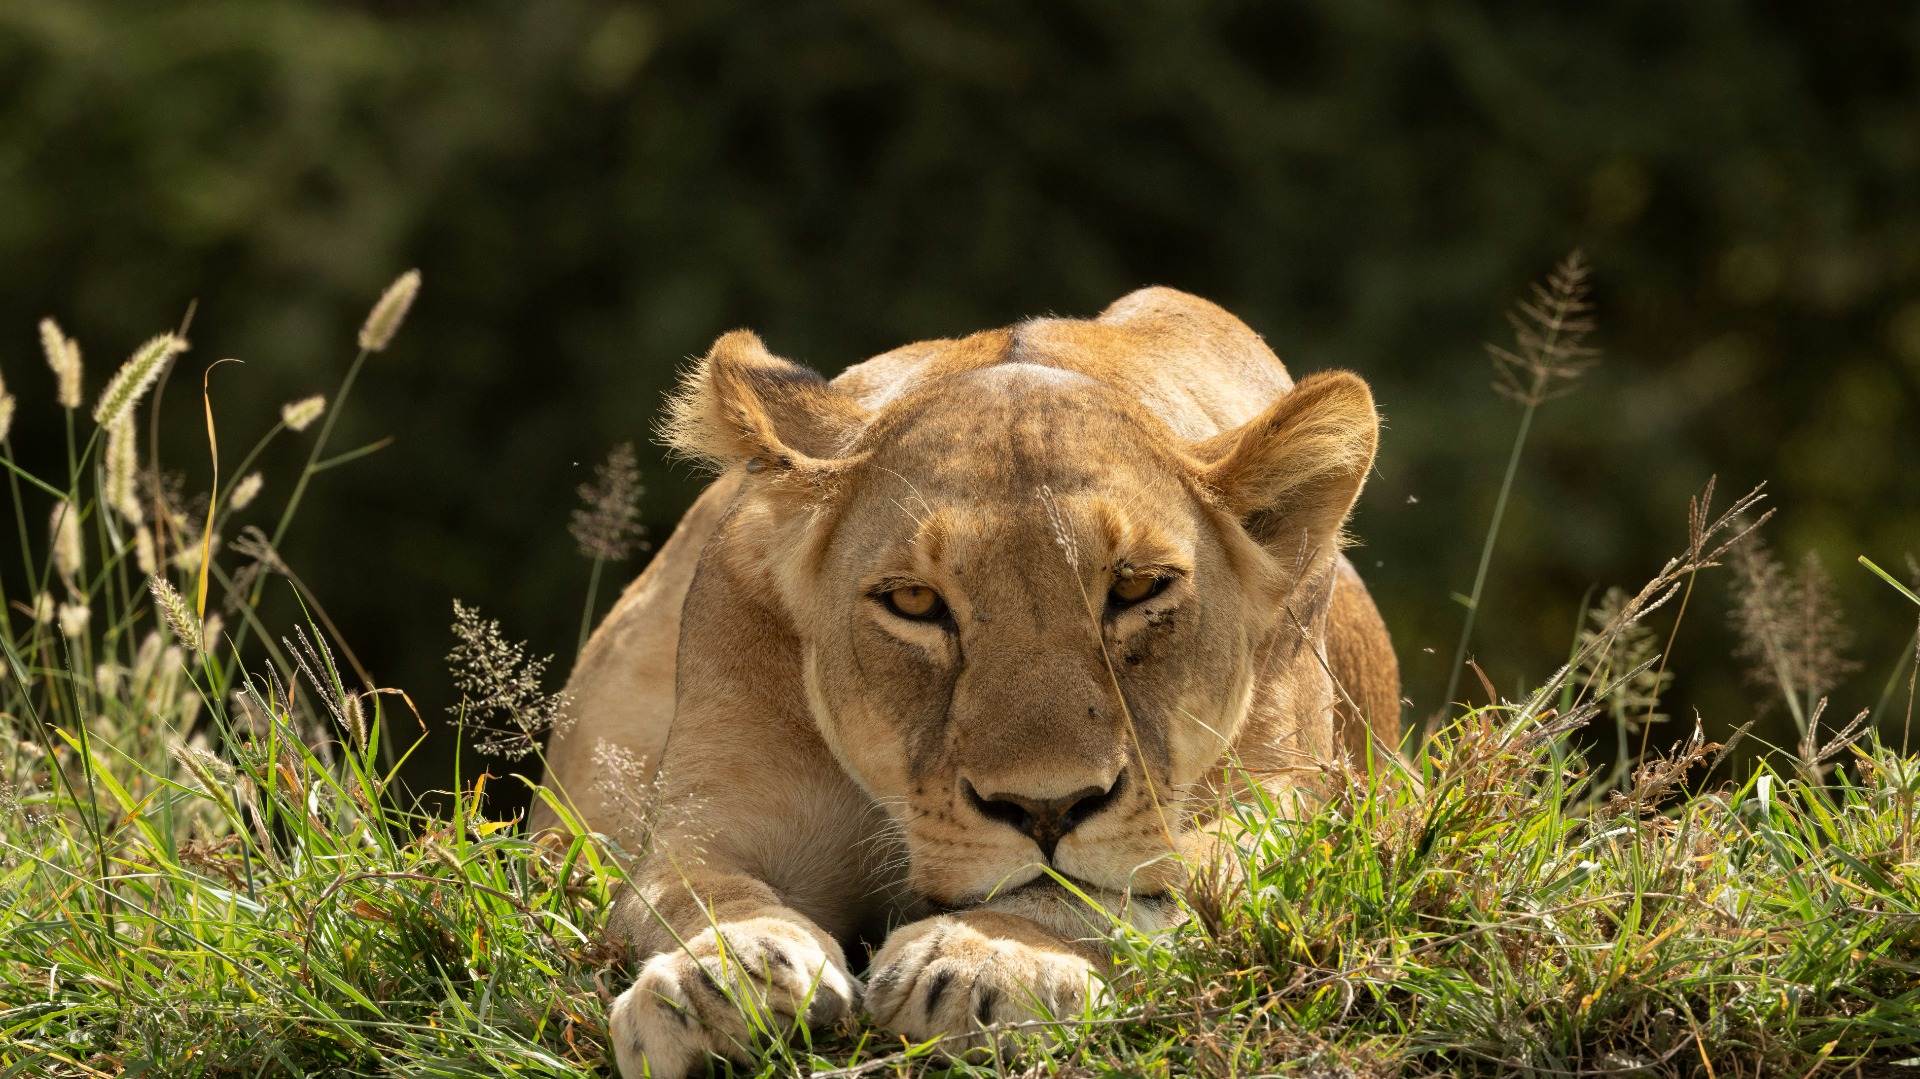
In Masai Mara National Reserve, experienced drivers will position vehicles ahead of a hunting lioness's predicted path, giving you both the right light angle and a few precious seconds to prepare. This collaboration between guide knowledge and photographer readiness frequently produces the most compelling action sequences.
Continuous autofocus with subject tracking helps maintain sharpness on moving targets. For birds in flight or running antelope, enable high-speed continuous shooting at 10-20 frames per second, but remember to edit ruthlessly afterwards. Quality matters far more than quantity.
Reading Subtle Cues in Changing Light
As shadows lengthen in the afternoon, animals often become more active. A herd of wildebeest may suddenly break into a run as the temperature drops, creating dramatic dust-filled backlit scenes. Recognising these patterns allows you to pre-focus and adjust settings before the moment arrives.
Encounters Africa guides frequently share insights about specific prides or herds, helping photographers understand individual personalities and likely behaviours. This knowledge, combined with technical preparedness, elevates simple documentation into storytelling.
Lens Selection and Respecting Animal Distance
Select lenses that respect animal distance while delivering sharp, evocative frames across Kenya and Tanzania. A 100-400mm or 200-600mm zoom offers versatility for changing situations, while a fixed 400mm f/2.8 or 600mm f/4 provides superior image quality when working at greater distances.
Prime lenses generally deliver better clarity and faster autofocus, though modern zoom lenses have narrowed the gap considerably. Consider weight and handling in the field: a lighter 100-400mm paired with a teleconverter can prove more practical during long game drives than a heavy super-telephoto.
Always prioritise the animal's comfort. If your presence causes ears to flatten, tails to twitch rapidly, or deliberate avoidance behaviour, increase your distance immediately. Responsible photography enhances rather than diminishes the experience for everyone, including the wildlife.
Supporting Equipment and Field Techniques
A sturdy bean bag or gimbal head mounted on the vehicle frame provides essential stability when shooting from an open safari vehicle. Polarising filters help manage glare on water surfaces during midday hours, while a lens hood becomes indispensable against both flare and the occasional curious monkey.
Carry two camera bodies if possible, one fitted with a wide-to-medium zoom for landscapes and intimate portraits, the other with a longer telephoto for wildlife. This setup minimises lens changes that might cause you to miss decisive moments as light conditions evolve.
Photography on safari is less about collecting images than about deepening your connection to the wild places and creatures that call Africa home.
Common Questions About Wildlife Photography in Variable Light
What camera settings should I use for lions at dawn in Kenya? For lions at dawn, begin with 1/500th second shutter speed, f/5.6 aperture, and ISO 800. As light improves, reduce ISO while maintaining shutter speed to freeze any sudden movement. Spot metering on the lion's face prevents the bright sky from underexposing your subject.
How do I handle harsh midday light in Tanzania's national parks? Convert harsh conditions into creative opportunities by seeking shade, using backlighting for silhouettes, or focusing on abstract details like patterns in giraffe markings. Alternatively, use this time for rest and review of morning images before the afternoon light softens again.
Which focal length works best for ethical wildlife photography? A minimum 400mm equivalent allows you to maintain respectful distance while filling the frame. For smaller subjects like birds or reptiles, 600mm or more becomes advantageous. The key remains working within the animal's comfort zone rather than pushing for tighter shots.
Post-Processing Approaches That Preserve Authenticity
The raw files captured in Africa's varied light conditions often require thoughtful adjustment to reflect what the eye actually saw. Subtle tweaks to contrast, clarity, and selective colour saturation can enhance rather than fabricate the scene. Avoid heavy-handed HDR effects that can make African landscapes appear unnatural.
Develop a consistent workflow that begins with basic exposure correction, followed by targeted adjustments using masks in Lightroom or Capture One. Many photographers find that preserving the natural colour palette of the African bush creates more emotional impact than dramatic alterations.
Consider creating both colour and monochrome versions of key images. The monochromatic treatment can emphasise texture and form when the light has produced particularly striking contrasts between light and shadow.

Bringing Your Images Home
The techniques outlined here represent starting points rather than rigid rules. The most valuable skill you can develop is the ability to read both the light and the landscape intuitively, responding creatively to whatever conditions the day presents. Over time, these practical camera techniques for capturing African wildlife in shifting light become second nature, allowing you to focus more fully on the experience itself.
Encounters Africa has guided thousands of passionate photographers through these same landscapes, refining approaches that respect both the wildlife and the extraordinary light that defines the African experience. Whether you join one of our small-group photographic safaris or travel on a private journey, our expert guides stand ready to share their deep understanding of animal behaviour and optimal photographic opportunities.
For discerning travellers seeking a private safari beyond our set itineraries, we invite you to contact us directly. We specialise in designing exceptional, tailor-made journeys for individuals, couples, families, and private groups of up to eight guests. Drawing on our handpicked network of distinguished camps and lodges, we curate every detail with precision and care, creating a seamless, deeply personal safari experience shaped entirely around your preferences, pace, and budget.
Begin your photographic journey by exploring our Kenya and Tanzania wildlife photography safari itineraries, or discover the intimate guiding style at Elewana Serengeti Pioneer Camp. Then visit our enquiry form to discuss how we might craft an experience that aligns perfectly with your vision.
More like this
Photography
Practical Camera Techniques for Rwanda’s Misty Volcano Slopes
Photography
Practical Field Techniques for Capturing African Wildlife Images While Leaving No Trace
Photography
Practical Kenyan Photography Techniques for Capturing Wildlife in Motion
photography
Practical Night Photography Techniques That Keep You Safe in African Bushveld
Photography
Practical Photography Opportunities Across Uganda's Diverse Landscapes
Photography