Photography
Ten Camera Adjustments That Transform Beginner Wildlife Shots in Africa
Encounters Africa - 8 min read
Updated on 10 August 2026
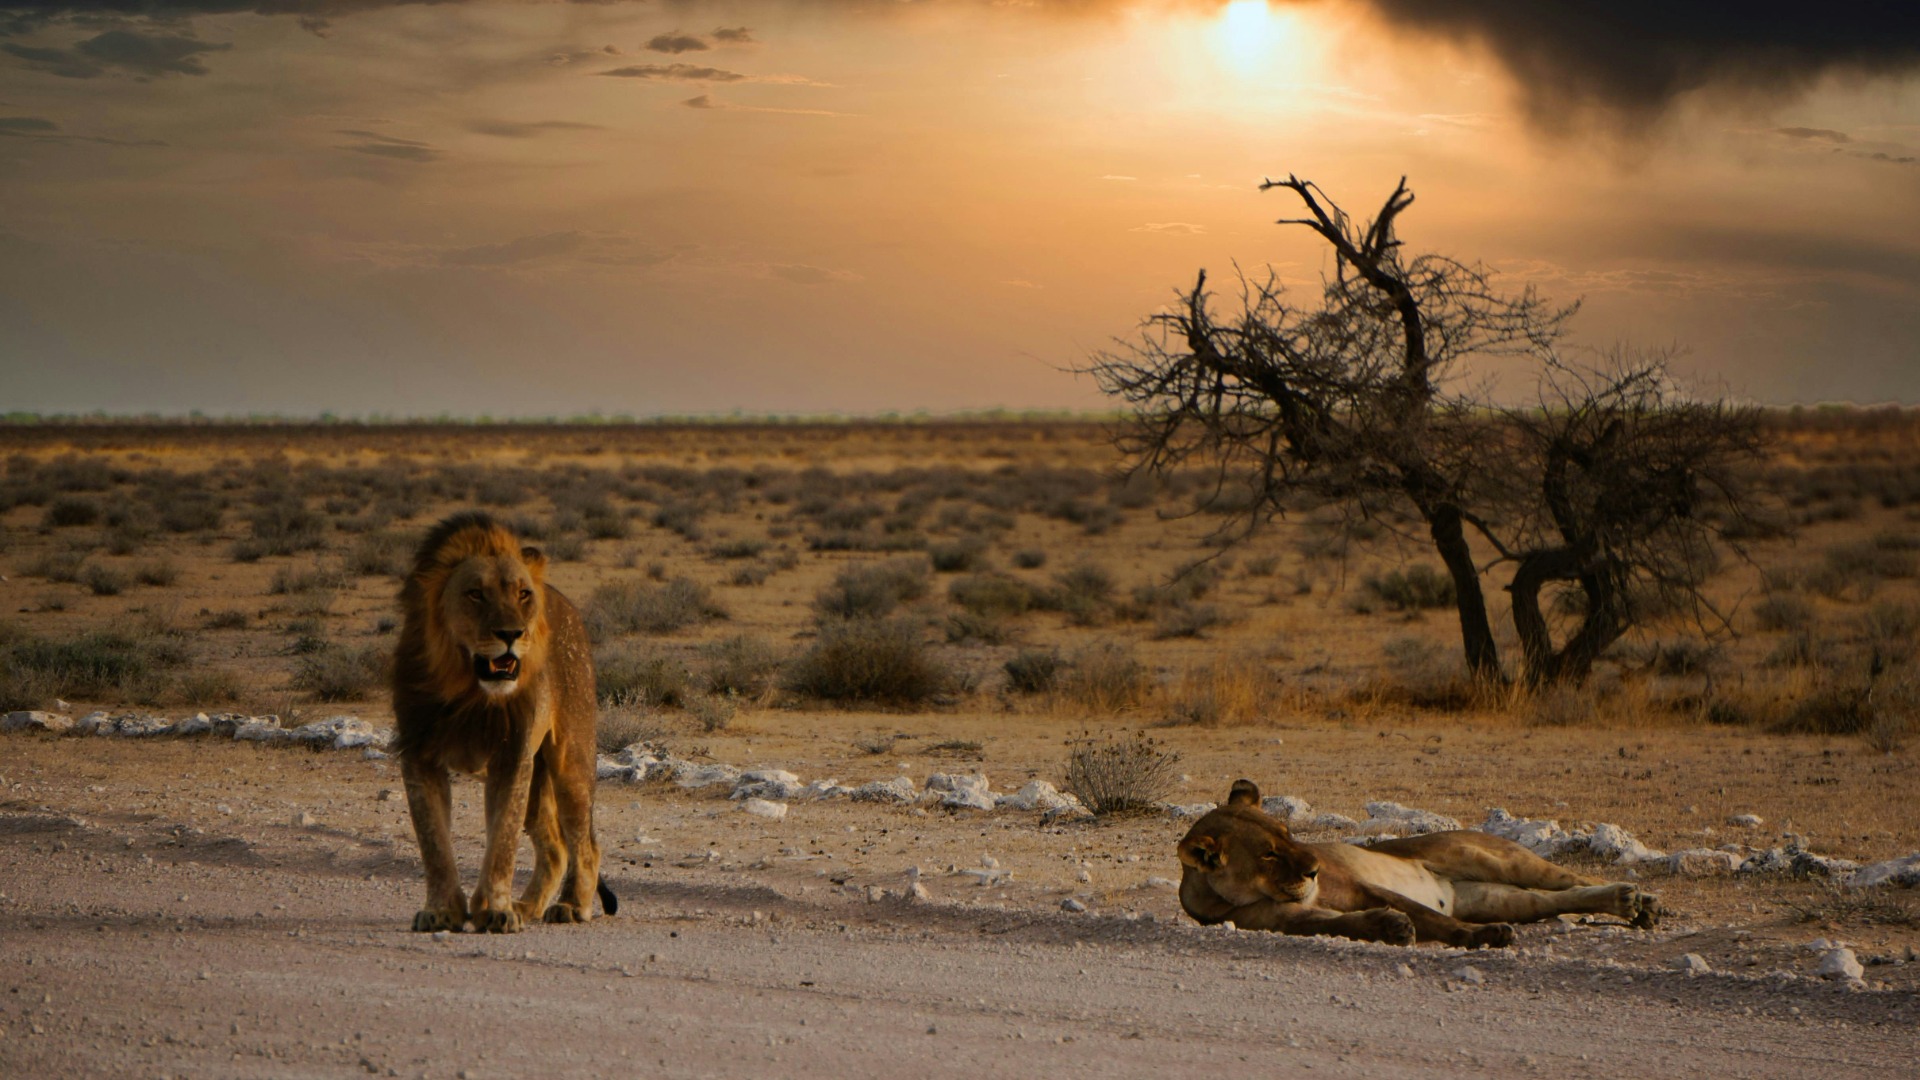
Ten essential camera adjustments can dramatically improve your wildlife photography during African safaris, turning uncertain beginner efforts into consistently sharp, evocative images. Whether you are tracking a leopard through dappled light in the Masai Mara or watching elephants gather at a waterhole in the Okavango Delta, these practical tweaks require no expensive new gear. They simply help you respond faster and more confidently to the unpredictable rhythms of the African bush.
The best time to visit for photography is during the drier months when animals concentrate around water sources and vegetation is thinner, typically from June to October in many regions. Expect golden light at dawn and dusk, high contrast at midday, and sudden movement that tests every setting. With these adjustments, beginners can capture moments that feel alive and intimate rather than distant snapshots.
Understanding Exposure Compensation for African Light
Africa’s intense sunlight creates high contrast that often fools automatic metering. Exposure compensation lets you deliberately brighten or darken the image by up to two stops without switching out of semi-automatic modes. On game drives, where light shifts rapidly from open plains to thickets, dialling in +0.3 to +1 stop prevents animals from turning into silhouettes against bright skies.
Start by setting your camera to aperture priority or shutter priority, then use the dedicated +/- button or dial. Review the histogram after each burst; the goal is to keep detail in both highlights and shadows. This single adjustment alone rescues many first-time safari photographs taken in harsh equatorial light.
In the African bush, light is never neutral. Learning to gently override your camera’s meter transforms flat or blown-out frames into images that glow with the warmth and depth of the landscape itself.
When to Apply Positive and Negative Compensation
Use positive compensation when photographing dark subjects such as buffalo against a bright sky or when shooting into the sun during golden hour. Negative compensation helps when the scene is dominated by pale sand or water reflections, common around the Makgadikgadi Salt Pans. Practise these shifts while stationary so the movement does not distract from the sighting.

Mastering Shutter Speed and Burst Mode
Wildlife rarely pauses for portraits. Increasing shutter speed to at least 1/1000th of a second freezes the stride of a running zebra or the wingbeat of a lilac-breasted roller. Pair this with burst mode, often labelled Continuous High, to capture sequences of six to ten frames per second on most modern mirrorless or DSLR bodies.
During a Masai Mara river crossing, for example, burst mode increases your chances of catching the exact moment a wildebeest clears the water. Keep your camera in this setting when predators are nearby; the extra frames often reveal subtle expressions or interactions that a single shot would miss.
Choosing the Right Drive Mode for Different Subjects
For stationary subjects like a basking crocodile, single shot suffices and saves memory card space. Switch to burst when tracking birds in flight or young animals at play. Many travellers find that limiting bursts to two-second presses prevents filling memory cards too quickly on long game drives.
Optimising Aperture for Depth and Isolation
A wide aperture such as f/4 or f/5.6 throws the background into a creamy blur, helping the animal stand out from busy savanna grasses. In denser woodland like the Laikipia conservancies, a slightly narrower setting around f/8 maintains sharpness across a group of impala while still softening distant trees.
Remember that changing aperture affects the amount of light reaching the sensor. Combine it with ISO adjustments so you do not drop below safe shutter speeds. This interplay becomes second nature after a few drives and dramatically improves subject separation in your images.
The magic of wildlife photography often lies in what you choose to leave soft. A thoughtful aperture decision can turn an ordinary portrait into one that feels cinematic and full of atmosphere.
ISO Settings That Balance Noise and Speed
Modern cameras handle higher ISO values with remarkable cleanliness. Set a base of 400 for early morning light and allow the camera to push to 1600 or 3200 when cloud cover rolls in or when you need faster shutter speeds. Noise reduction software can tidy any grain later, but a missed shot cannot be recovered.
In the cool highland light of Volcanoes National Park, lower ISO values preserve the rich textures of gorilla fur. Test your own camera’s acceptable noise threshold before departure so you can push the settings confidently in the field.
Autofocus Modes for Moving Wildlife
Continuous autofocus, often called AF-C or Servo, keeps adjusting focus as long as the shutter is half-pressed. Combine it with a single central point or a small cluster of points for precision when photographing fast-moving cheetahs or darting birds. Many beginners overlook this and end up with sharp backgrounds and blurry subjects.
Back-button focus offers even greater control, separating focusing from shutter release. Once mastered, it allows you to lock onto an animal’s eye and then recompose without losing focus when the vehicle rocks on uneven tracks.
White Balance and Colour Accuracy
Auto white balance works well in most African conditions, yet manually setting Daylight or Cloudy can prevent the warm orange casts that sometimes appear at sunrise. A custom Kelvin value around 5500–6500 K usually delivers natural skin tones on both people and animals.
Shooting in RAW gives you complete freedom to fine-tune white balance later, but getting it close in-camera saves editing time and helps you visualise the final image while still on the vehicle. This small habit separates casual snaps from images that truly reflect the colours of the African landscape.
Stabilisation and Support Techniques
Image stabilisation in lenses or camera bodies allows hand-held shooting at slower shutter speeds, yet a beanbag remains the most reliable support on game-drive vehicles. Rest the lens on a firmly positioned beanbag rather than the window frame to reduce vibration from the engine.
When shooting from a boat on the Chobe River, switch stabilisation to the panning mode so the camera compensates only for vertical movement. These small physical adjustments complement your electronic settings and produce noticeably sharper results.
A steady platform and thoughtful support transform good light and perfect timing into prints you will proudly display long after the dust of the journey has settled.
File Format and Memory Card Strategy
RAW files contain far more data than JPEGs, giving greater latitude when adjusting exposure or recovering highlights later. Carry at least two high-speed cards of 64 GB or larger and rotate them so you never risk losing an entire drive’s images to a single failure.
Format cards in-camera each morning to avoid errors. On a two-week safari you might shoot several thousand frames; having a simple workflow prevents the disappointment of corrupted files when you return home.
Understanding Metering Patterns
Matrix or evaluative metering analyses the entire scene and usually performs well, but spot metering becomes invaluable when an animal is backlit or occupies only a small part of the frame. Aim the spot at the mid-tone of the subject’s body rather than the brightest highlight.
In the golden light of late afternoon across the Serengeti Migration Camp area, spot metering on a lion’s tawny flank ensures the mane retains detail while the sky remains dramatic. Switching patterns takes only a moment yet dramatically changes exposure accuracy.
Putting It All Together on Your First Safari
Begin each drive by setting a baseline: aperture f/5.6, shutter 1/1000, ISO 400, continuous autofocus, and burst mode. Adjust from there as conditions change. Review images on the back screen using both the histogram and magnified focus check. The instant feedback of digital photography accelerates learning faster than any classroom.
Guides at well-run lodges often position vehicles thoughtfully for photographers. Communicate your needs calmly so they understand when you require a stable angle or extra seconds before moving on. This partnership between traveller and guide frequently yields the most memorable frames.
Many of our travellers combine these technical adjustments with a deeper appreciation of animal behaviour. Reading a tail flick or ear movement can alert you to imminent action, allowing you to pre-empt the perfect moment rather than reacting late.

Why These Adjustments Matter More Than New Equipment
Expensive lenses and bodies impress in the shop, yet the difference between a good and an outstanding wildlife photograph almost always comes down to how the photographer uses the tools already in hand. The ten adjustments outlined here have helped countless first-time visitors return from Kenya, Botswana and South Africa with portfolios that genuinely reflect the wonder of their experiences.
Encounters Africa regularly sees these small refinements create disproportionate improvements in image quality. Guests who once felt overwhelmed by technical decisions now anticipate light changes and animal movements with calm confidence. The result is not only better photographs but a richer connection with the landscapes and creatures they have travelled so far to meet.
For discerning travellers seeking a private safari beyond our set itineraries, we invite you to contact us directly. We specialise in designing exceptional, tailor-made journeys for individuals, couples, families, and private groups of up to eight guests. Drawing on our handpicked network of distinguished camps and lodges, we curate every detail with precision and care, creating a seamless, deeply personal safari experience shaped entirely around your preferences, pace, and budget.
Ready to turn your own African wildlife photography aspirations into reality? Explore our Kenya photography safari itineraries or discover the intimate camps of the Okavango Delta. Then visit our enquiry form and let the Encounters Africa team begin crafting the journey that matches your vision.
More like this
photography
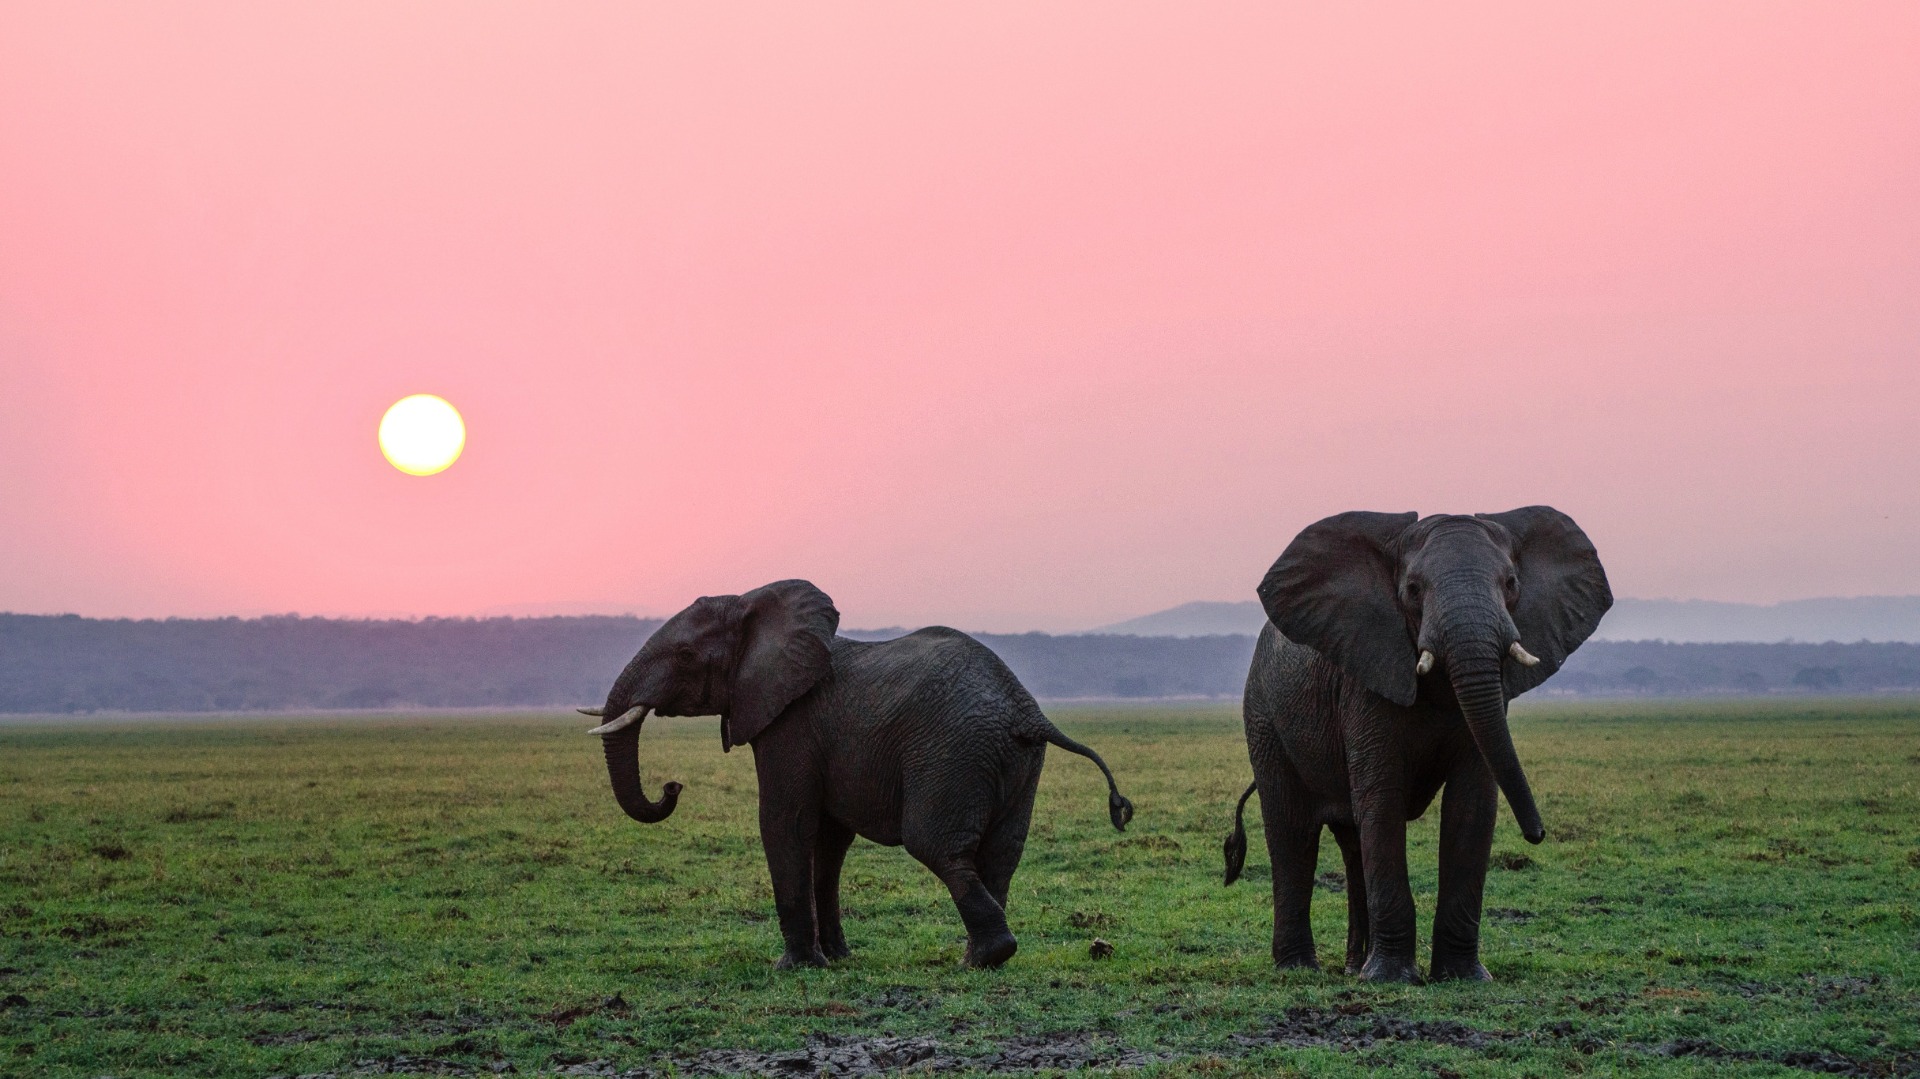
Three Lenses That Capture Every Safari Moment Without Overpacking
Photography
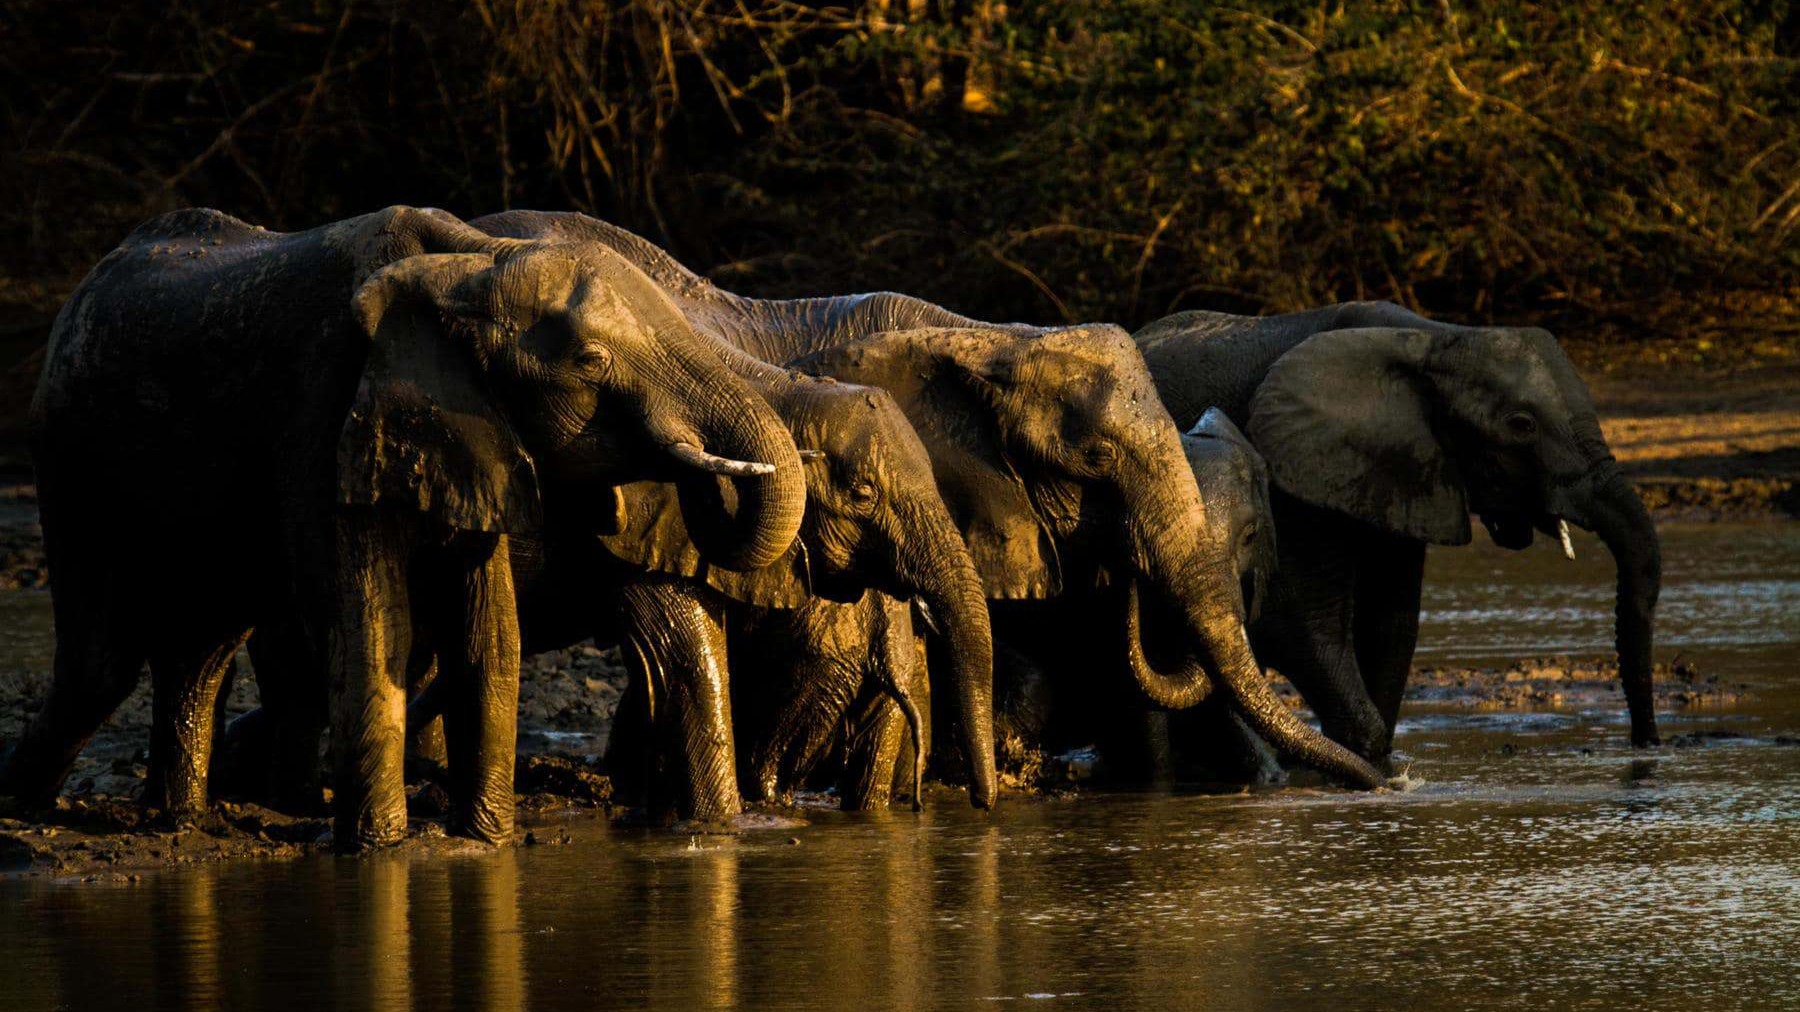
Through the Viewfinder: How Zimbabwe's Landscapes Reshape What Photographers Notice
Photography
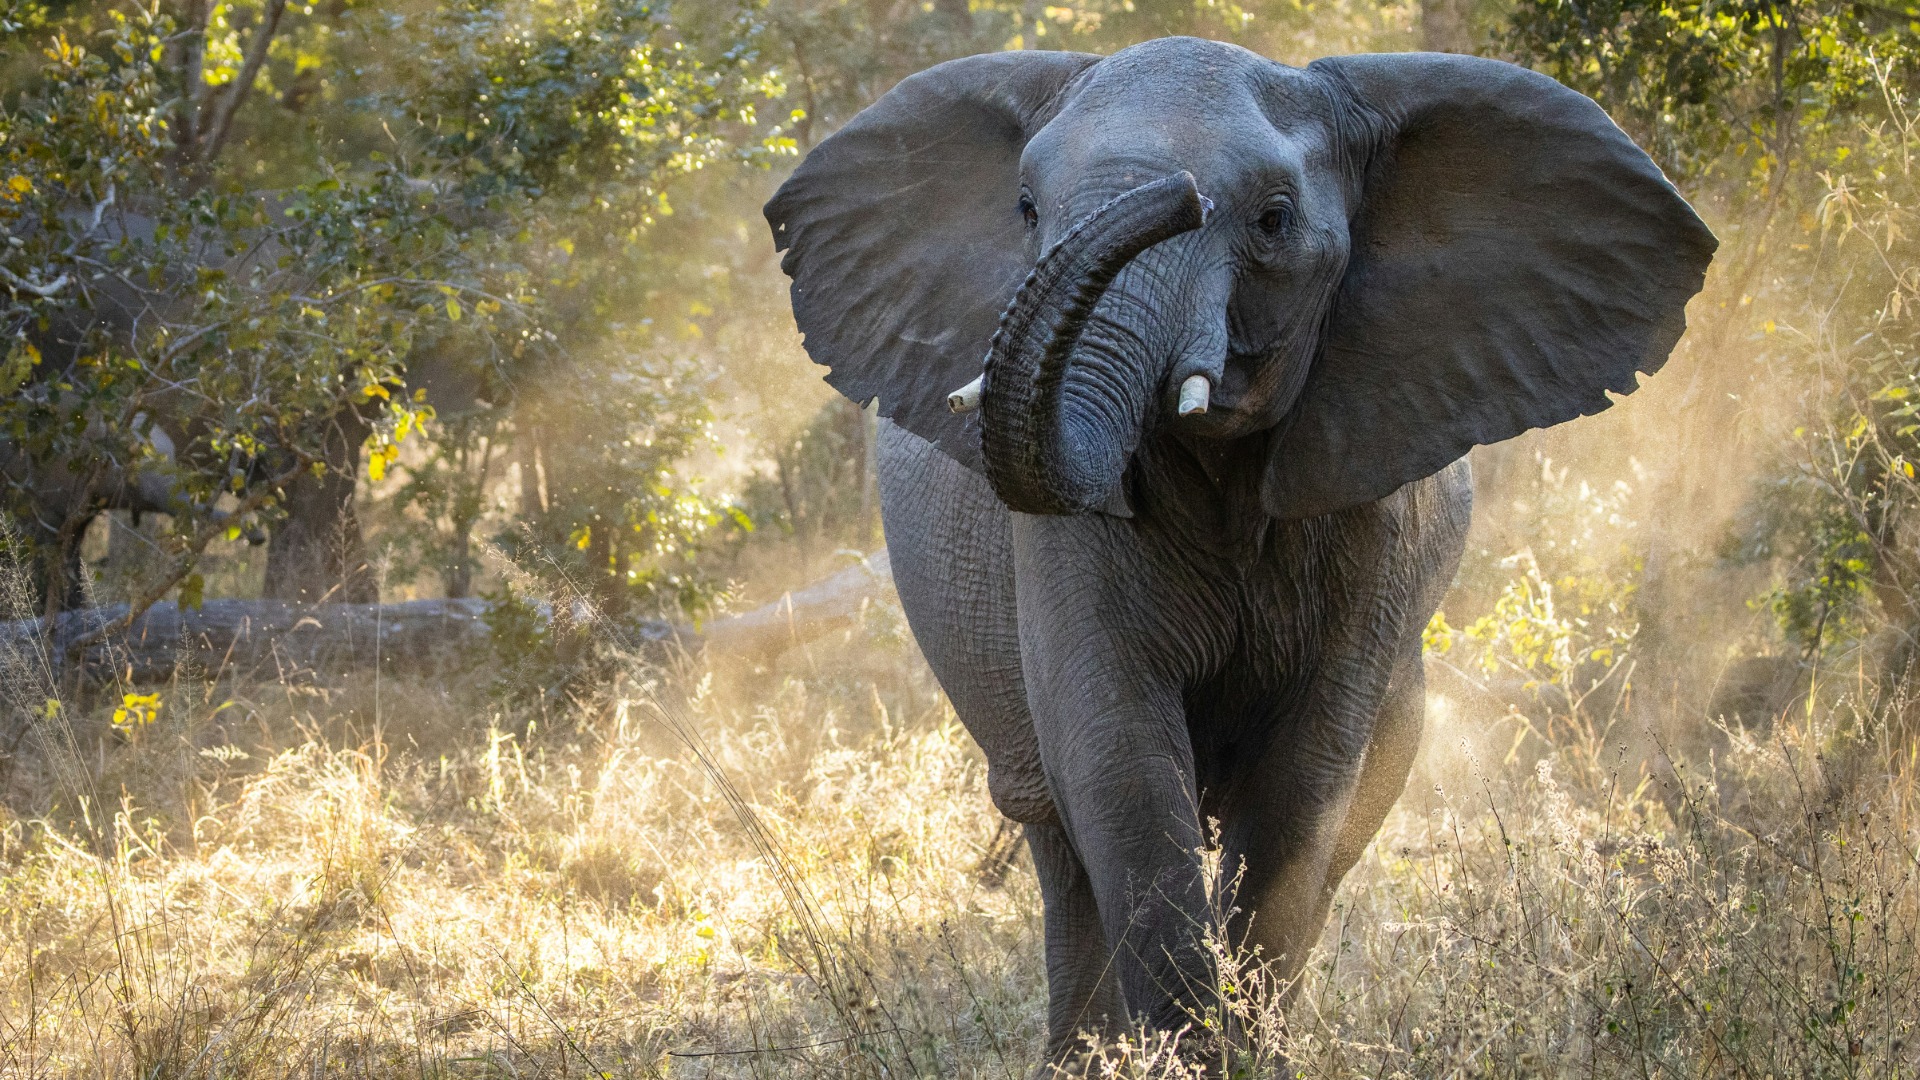
Top 10 Photography Tips for Zimbabwe: Practical Advice for Capturing Its Dramatic Landscapes
photography
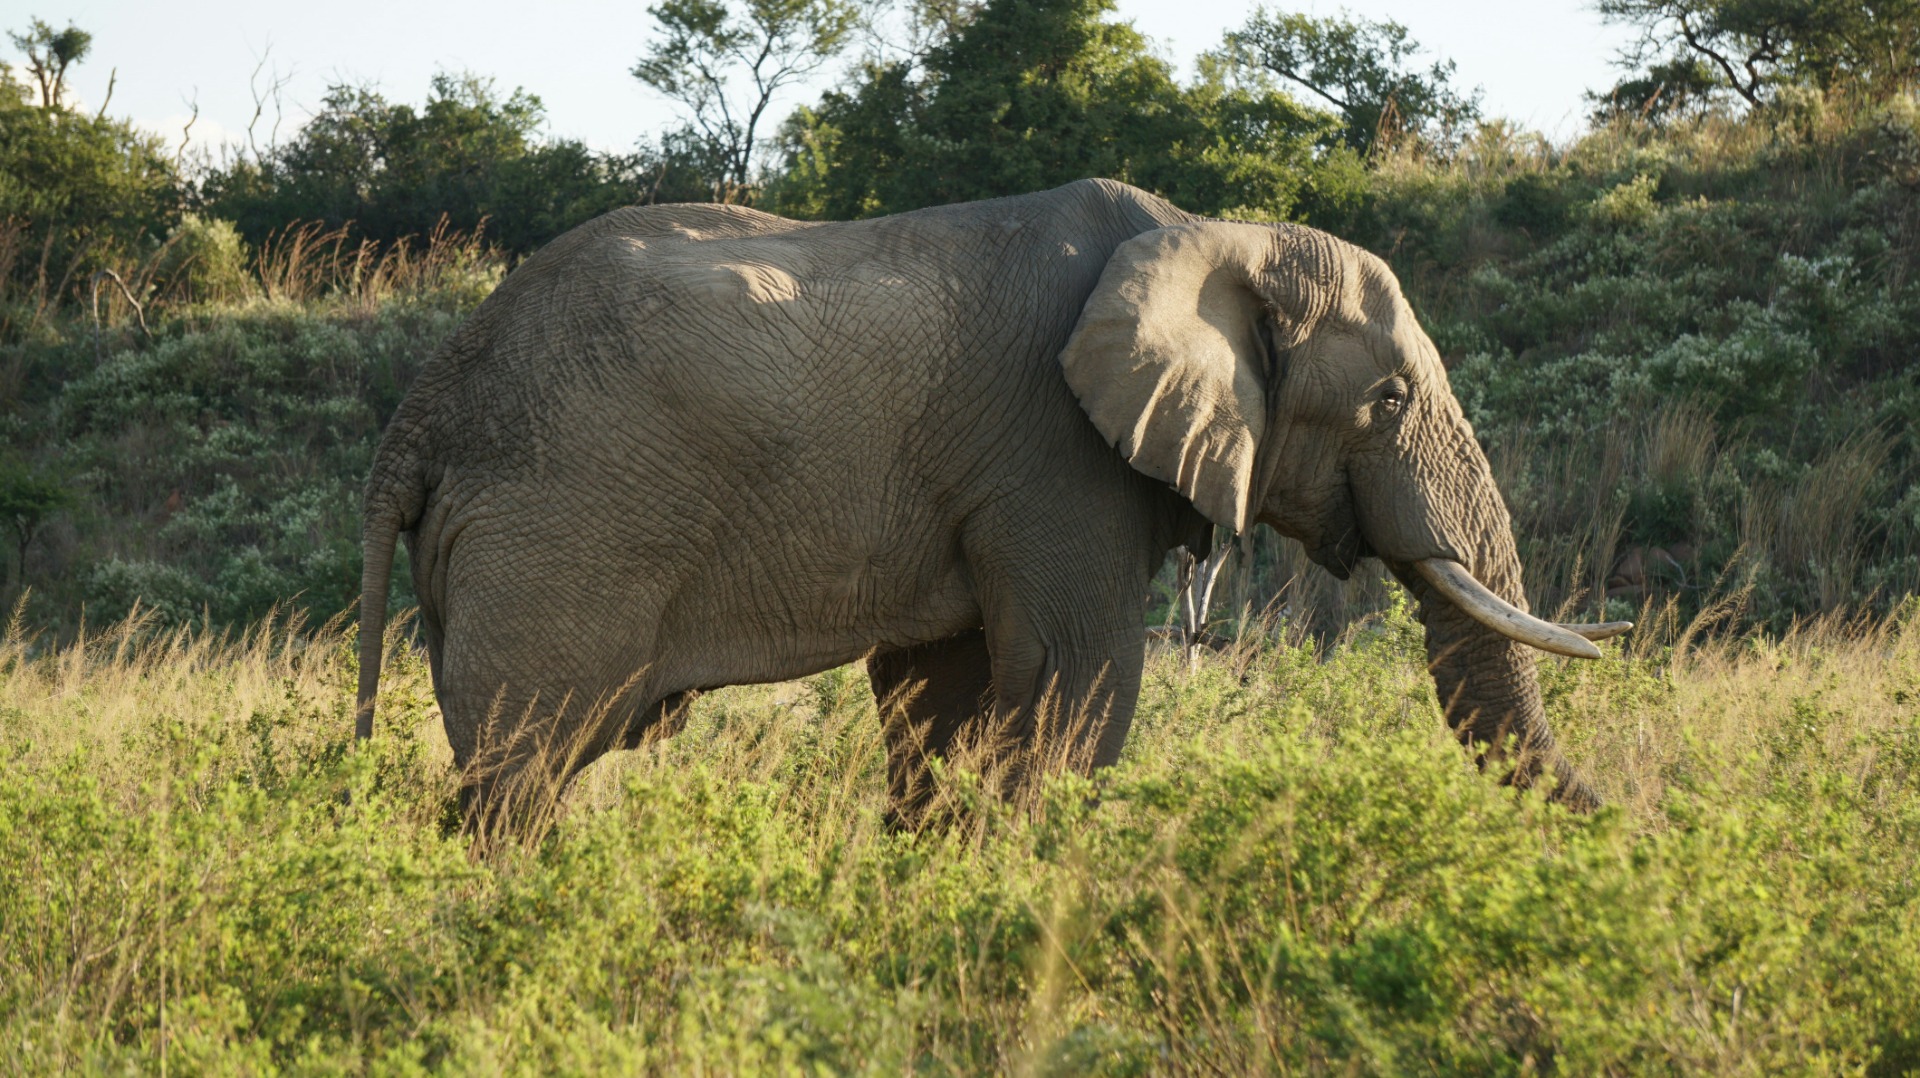
Transform Your Safari Shots: Master Golden Hour Lighting for Dramatic Wildlife Images
Photography
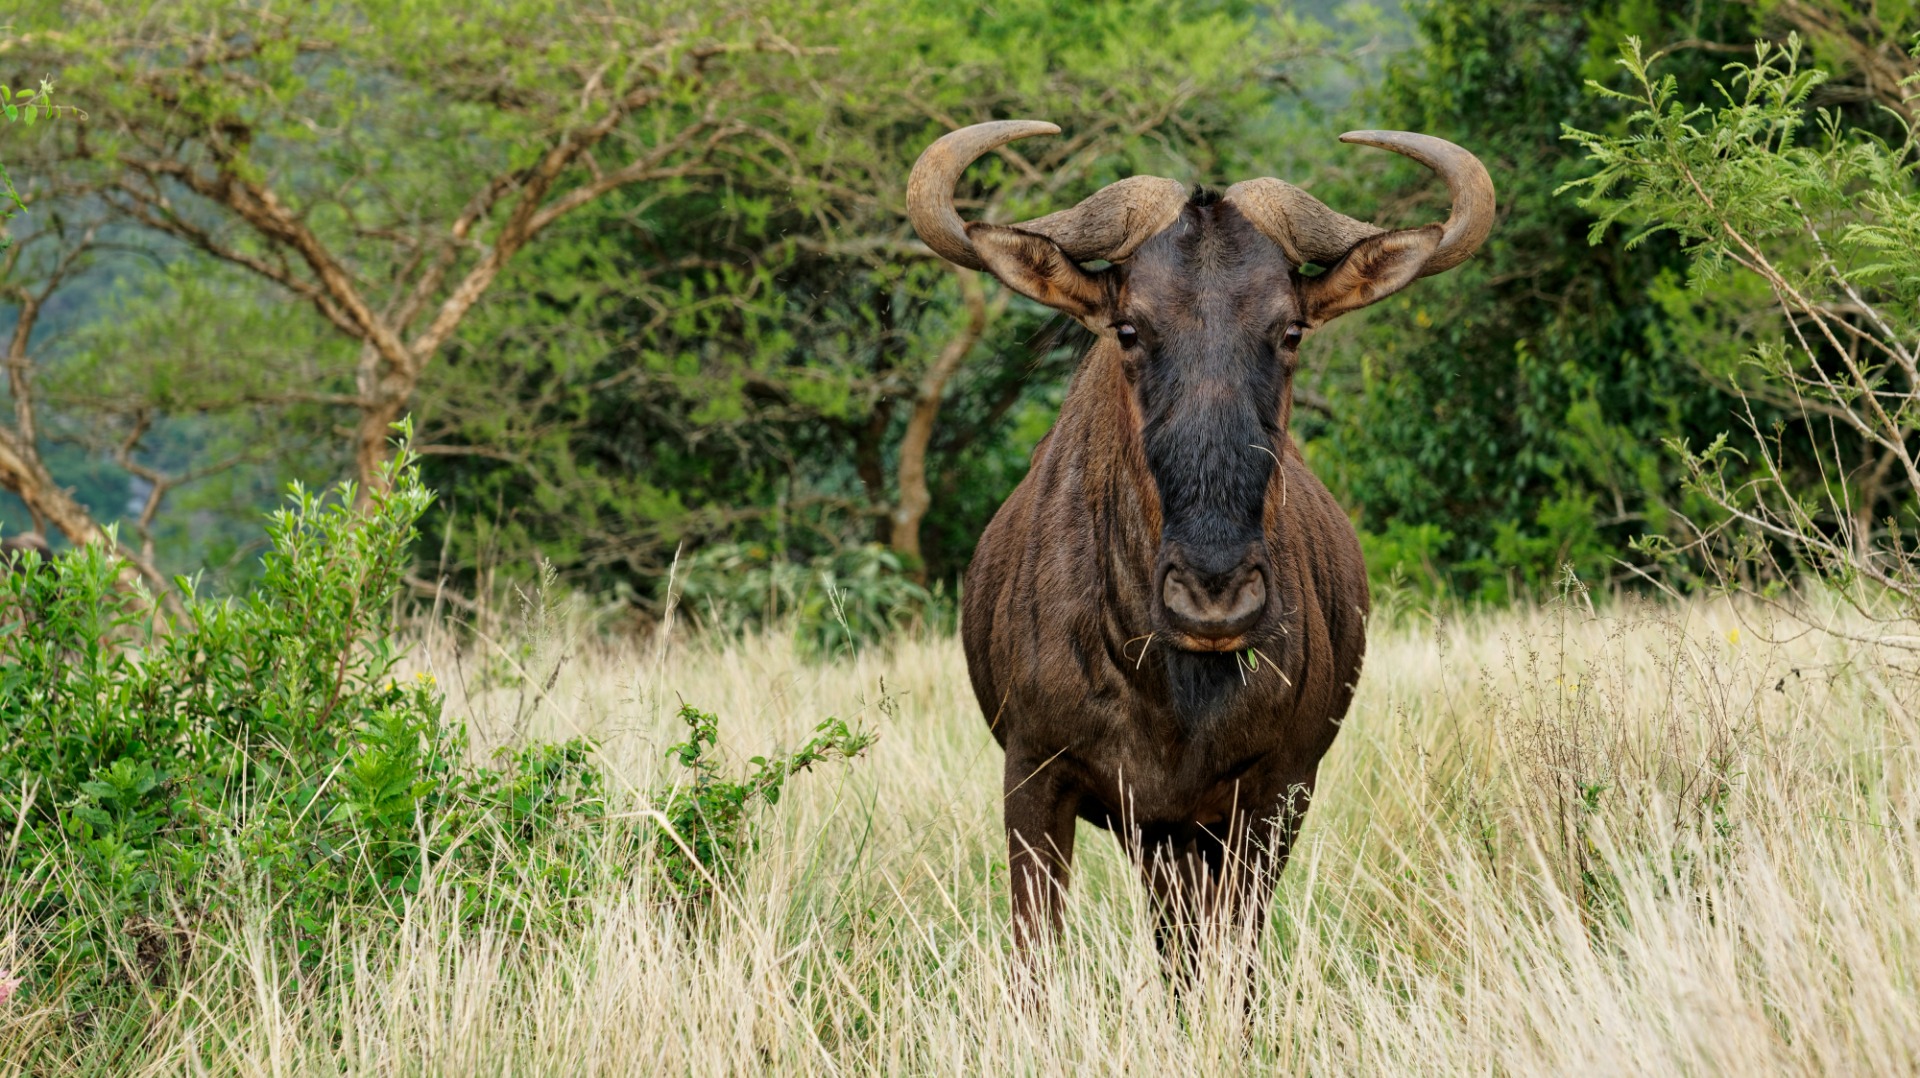
Twenty Field-Tested Photography Insights That Transform Your African Safari Shots
Photography